
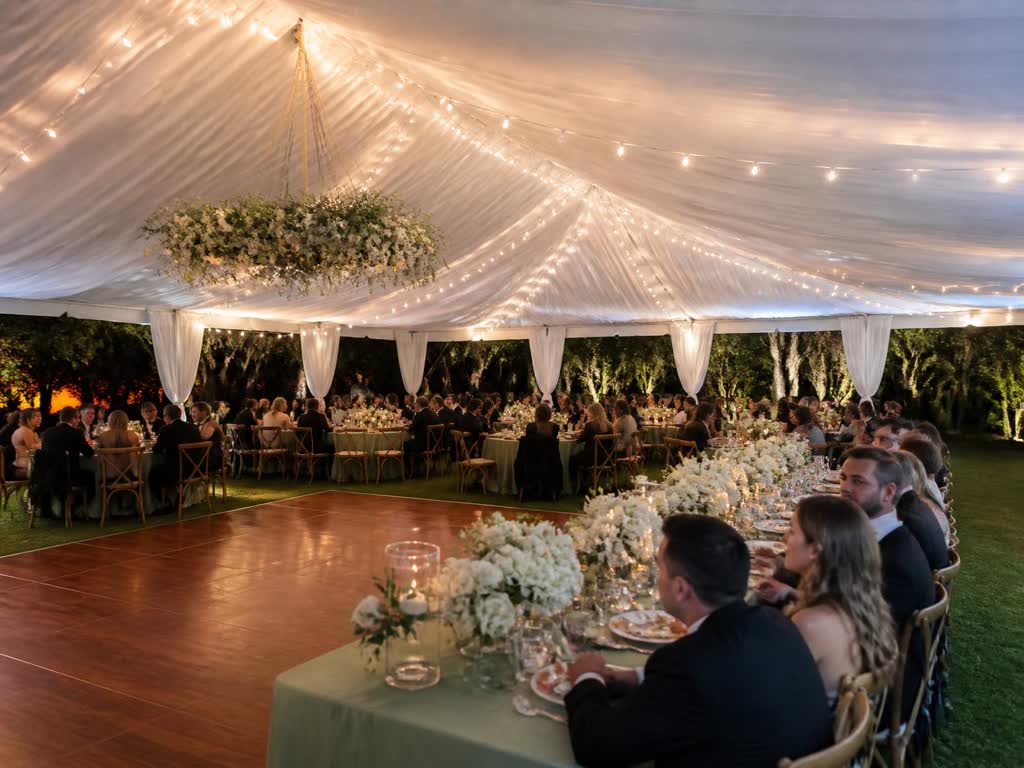
Guest‑Count Math
Understanding how many guests your event will host is the first step in selecting the right equipment. Start by counting every person who will attend, including adults, children, and any vendors or performers. Use this number to determine seating arrangements, table sizes, and the amount of open space needed for activities.
For seated dining, a standard 60‑inch round table comfortably accommodates eight guests, while a 72‑inch round table fits ten. If you prefer rectangular tables, an eight‑foot table seats eight to ten people, and a six‑foot table seats six to eight. Cocktail tables, typically thirty inches in diameter, work well for standing guests and can hold two to four people each; plan for roughly one cocktail table per eight to twelve attendees.
When you have a mixed setup—some guests seated, some standing—calculate the seated portion first, then add cocktail tables for the remainder. This method ensures you have enough surface area for food, drinks, and decorations without overcrowding the space.
Example Calculation
- Total guests: 120
- Seated guests: 80 (using ten 8‑foot rectangular tables, each seating eight)
- Standing guests: 40 (requiring ten cocktail tables, each serving four)
Adjust the numbers based on your preferred layout, but always verify that the total seated and standing capacities match your guest count.
Considering Dance Floor Space
If you plan to include a dance floor, subtract its footprint from the usable area before calculating table layout. A typical 12 × 12‑foot dance floor fits about thirty guests comfortably for dancing. Remember to keep clear pathways around the floor for servers and guests moving between tables and the bar or buffet.
Adjusting for Children and Vendors
When counting guests, separate adults from children because children often need less seating space and may sit on benches or floor cushions. Vendors such as DJs, caterers, or photographers usually require a small table or workstation but not a dining seat. Adjust your table count by allocating one seated spot per adult and a shared area for children, then add a few extra tables for vendor stations.
Yard Preparation
Before the delivery team arrives, evaluate the area where the tent and equipment will be placed. Look for level ground, clear of debris, and check for any overhead obstacles such as low‑hanging branches or power lines. Measure the dimensions of the space to confirm it can accommodate the tent size you have selected, including any required sidewalls or anchoring systems.
If the surface is grass, consider laying down protective ground covers to prevent damage to the lawn and to provide a stable base for tables and chairs. For concrete or paved areas, ensure the surface is clean and dry to avoid slipping hazards. Mark the exact corners of the tent footprint with stakes or spray paint so the crew can align the structure quickly.
Additionally, think about access points for delivery vehicles. A clear path of at least ten feet wide allows the truck to maneuver safely. If there are gates or fences, verify they can be opened wide enough for the equipment.
Checking Soil Drainage and Ground Firmness
After marking the tent footprint, walk the area to feel for soft spots or standing water. If the soil feels spongy, lay down interlocking plastic grids or wooden pallets to distribute weight and prevent sinking. For sandy soil, consider adding a thin layer of gravel to improve stability. Proper drainage avoids water pooling under the tent during rain and keeps the floor dry for guests.
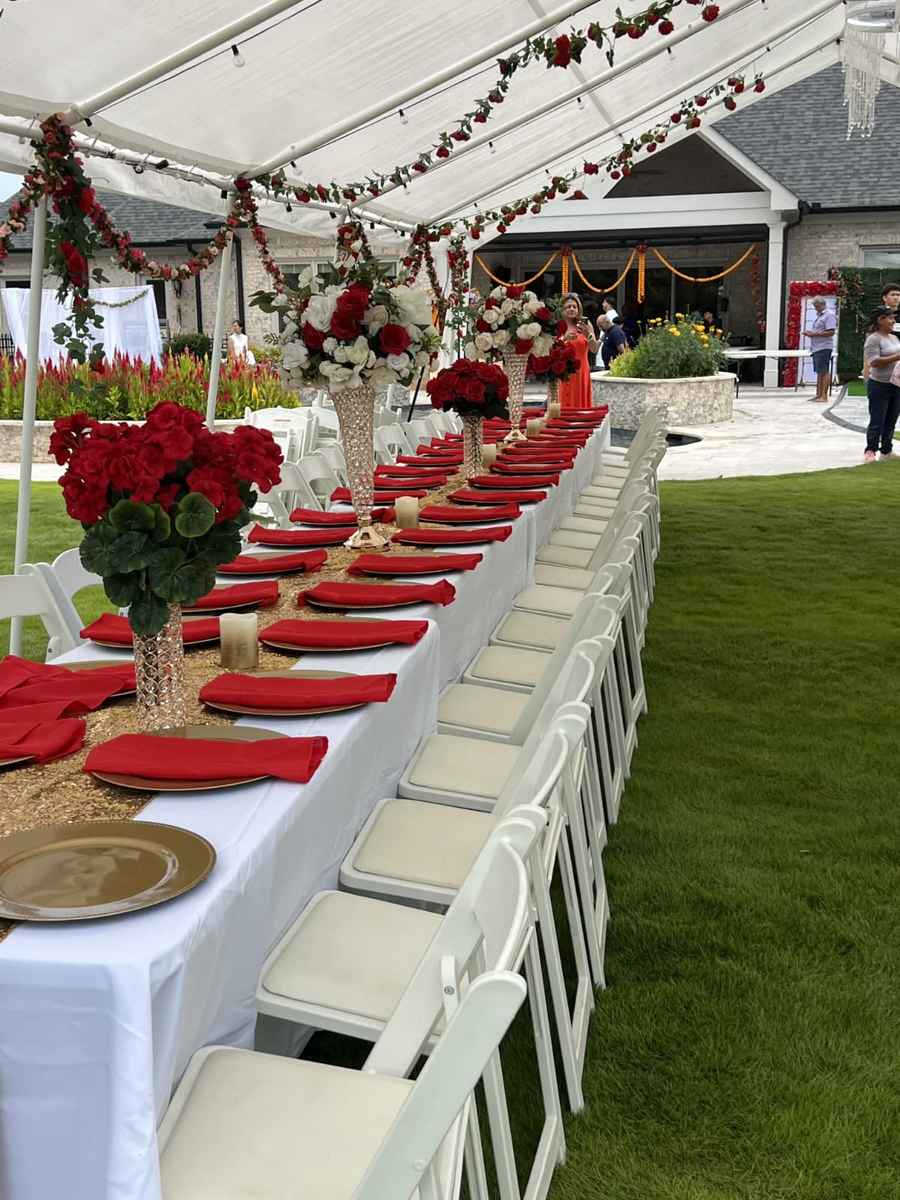
Load‑In Timeline
A smooth load‑in keeps the event on schedule and reduces stress for everyone involved. Begin by confirming the delivery window with the provider, then allocate sufficient time for each stage of the setup.
Typical Timeline for a Mid‑Size Event
- 0‑30 minutes: Truck arrival, equipment inspection, and placement of ground covers.
- 30‑90 minutes: Tent erection, including frame assembly, cover securing, and sidewall installation if needed.
- 90‑120 minutes: Interior layout—positioning tables, chairs, linens, and any decorative elements such as draping or lighting.
- 120‑150 minutes: Setting up specialized items like bounce houses, sound systems, or catering stations.
- 150‑180 minutes: Final walkthrough, safety checks, and any last‑minute adjustments.
For larger events, add additional time for each major component, and consider staggering the arrival of different vendors to avoid bottlenecks.
Adjusting Timeline for Larger Events
For events with more than one hundred fifty guests, add an extra thirty minutes to the tent erection phase to allow for additional sidewall sections and extra anchoring points. Similarly, extend the interior layout period by twenty minutes per fifty extra guests to accommodate more tables, chairs, and décor items. Stagger vendor arrivals by fifteen‑minute intervals to keep the workflow smooth and avoid congestion at the equipment staging area.
Rain Plan
Weather can change quickly, especially in Georgia, so having a contingency plan is essential. The primary rain mitigation strategy involves using sidewalls on the tent to create a fully enclosed space. Sidewalls attach securely to the frame and can be zipped or fastened to keep rain out while maintaining ventilation.
If the forecast calls for heavy rain or strong winds, discuss rescheduling options with the provider. Moving the event to an alternative date ensures safety and protects the equipment from damage. Keep an eye on local weather alerts and maintain open communication with the team on the day of the event.
Additionally, consider placing absorbent mats or portable flooring inside the tent to manage any moisture that might enter through the doors. Having a few extra towels on hand can help guests stay comfortable.
Using Portable Heaters and Fans for Comfort
If the event runs into cooler evenings, portable propane heaters can be placed at the tent’s perimeter, keeping a safe distance from walls and foliage. Always follow the manufacturer’s clearance guidelines and never leave heaters unattended. In warm weather, battery‑operated fans positioned near the sidewall openings improve airflow and reduce humidity inside the tent, making the space pleasant for guests.
Local Logistics
Covington’s location within Newton County offers several advantages for event logistics. The town is situated near major highways such as Interstate 20 and U.S. Route 278, facilitating straightforward access for delivery trucks. When planning the route, avoid peak traffic hours—typically weekday mornings and evenings—to reduce travel time.
Notify any homeowners’ associations or neighborhood groups if your event will impact shared streets or parking areas. Some communities require temporary permits for large gatherings or for placing equipment on public property; securing these in advance prevents last‑minute complications.
Local vendors for supplementary items, such as florists or caterers, are plentiful in Covington and nearby cities like Conyers and Social Circle. Coordinating with nearby suppliers can shorten delivery windows and support the regional economy.
Coordinating with Newton County Authorities
Newton County may require a special event permit if your gathering exceeds a certain size or involves amplified sound. Contact the county clerk’s office well in advance to confirm any needed paperwork, noise ordinances, or curfew rules. Providing a site plan that shows tent placement, parking, and emergency access can speed up the approval process and help avoid last‑minute delays.
Event Checklist
Use this comprehensive list to confirm that every detail has been addressed before the big day.
Two Weeks Prior
- Finalize guest count and confirm RSVP numbers.
- Select tent size, table types, chair styles, and linen colors.
- Book any additional services such as sound system, lighting, or catering.
- Verify delivery address, including street, city, state, and ZIP code.
- Check for any required permits or HOA approvals.
One Week Prior
- Confirm delivery window and contact phone number for the driver.
- Prepare the yard: clear debris, level ground, lay protective covers if needed.
- Mark tent footprint and plan for vehicle access.
- Review rain plan: ensure sidewalls are available and discuss reschedule possibilities.
- Pack a small emergency kit: tape, scissors, zip ties, and a flashlight.
Day of the Event
- Meet the delivery crew at the agreed time and oversee equipment placement.
- Inspect the tent for secure anchoring and proper sidewall attachment.
- Arrange tables, chairs, linens, and décor according to the layout plan.
- Test sound system, lighting, and any electronic equipment before guests arrive.
- Perform a final safety walk‑through: check for tripping hazards, secure loose cables, and ensure emergency exits are clear.
- Welcome guests and enjoy the celebration!
Day After – Breakdown and Return
After the celebration ends, walk the site with the pickup crew to verify that all rented items are accounted for and in good condition. Fold tables and chairs neatly, roll up linens, and pack any lighting or sound equipment into their cases. Inspect the tent for tears or loose straps before it is lowered, and ensure the ground is cleared of debris and personal belongings before releasing the area.