
Hosting an outdoor celebration in Grayson, GA offers the charm of family yards near Grayson High School and Rosebud Road, but weather can quickly turn a beautiful setting into a soggy challenge. A solid rain plan ensures that your guests stay dry, your décor stays intact, and your schedule stays on track, even when clouds gather. This guide walks you through every decision, from choosing the appropriate tent size to timing the setup, so you can enjoy peace of mind and keep the party moving forward regardless of rain.
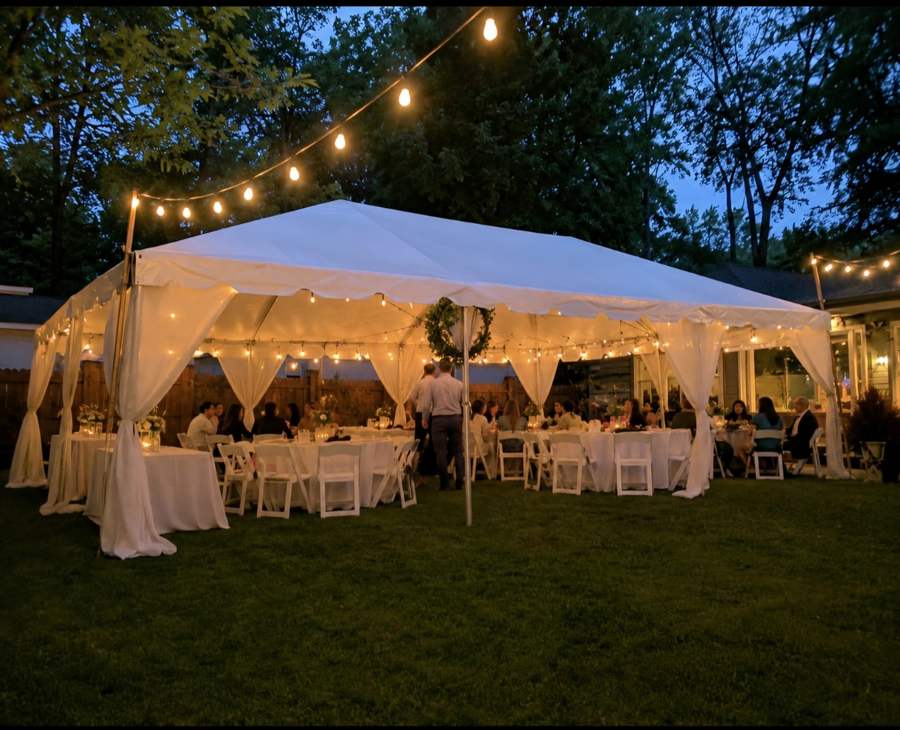
Outdoor Event Rain Plan Grayson GA: Your Step‑by‑Step Guide
When you begin planning a backyard gathering in Grayson, the first step is to acknowledge that rain is a realistic possibility in North Georgia’s climate. By treating the rain plan as an integral part of your overall event design, you avoid last‑minute scramble and preserve the visual impact you’ve invested in. Start by mapping the exact address of your venue, confirming that it falls within our 40‑mile service radius, and noting that Grayson sits in Gwinnett County, approximately a 42‑minute drive from our Pendergrass warehouse. Knowing the distance helps us calculate delivery logistics and ensures that the correct size of commercial‑grade COBIZI tent and sidewall system can be dispatched in time.
Next, create a guest‑count baseline. For instance, a typical family reunion of 80 guests will require a blend of seating and open space that influences tent selection. A 20×30 tent comfortably seats 48–60 guests, while a larger 20×40 tent accommodates 64–80 seated guests, giving you flexibility to add cocktail tables or a dance floor. By aligning the tent footprint with the number of attendees, you can also determine how many sidewalls are needed to protect critical zones such as the buffet table, DJ booth, or kids’ bounce house area. This proactive sizing eliminates wasted space and maximizes protection against rain.
Assessing Your Venue and Guest Count
Grayson’s residential yards vary in size, but most family properties near the high school offer a rectangular lawn of at least 30 × 50 feet. Measure the usable outdoor area and subtract any permanent fixtures like trees, garden beds, or built‑in patios that could interfere with tent placement. Once you have the clear dimensions, overlay the tent footprint you selected in the previous step. If the tent extends beyond the flat grass, consider adding temporary leveling plates or industrial fans to ensure proper air circulation and prevent water pooling.
Guest count directly drives the furniture layout. Using our verified table capacities, a 5‑foot round table seats eight guests comfortably, while a 6‑foot round table can host ten guests in a standard layout. For an 80‑guest event, you might arrange eight 5‑foot round tables (64 seats) plus two 6‑foot round tables (20 seats) to reach 84 seats, providing slight overflow for late arrivals. Complement these with cocktail tables—one for every 10–12 guests—so standing guests have a place to rest drinks while the rain stays out. By calculating these numbers early, you can communicate precise furniture requirements to our delivery team and avoid last‑minute adjustments.
Selecting the Right Tent and Sidewall Options
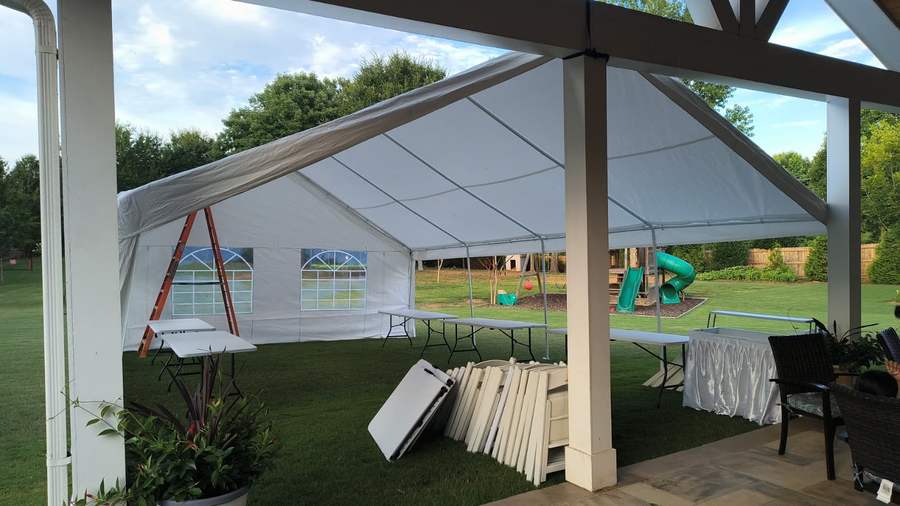
DecoEvent ATL’s commercial COBIZI tents are built with galvanized anti‑corrosion steel, waterproof covers, and UV protection—exactly what you need when rain is forecast. For a Grayson yard, a 20×40 tent is often the sweet spot, offering enough space for seating, a dance floor, and a cocktail area while still fitting comfortably within most residential lots. Pair the tent with sidewalls that match the tent width; sidewalls are installed from the frame and can be raised to a height of eight feet, effectively shielding the interior from sideways rain and wind.
Sidewalls come in standard widths, so you may need two to three panels to cover a 40‑foot span, depending on the exact layout. If your venue includes a water feature or a nearby tree that could drip, consider adding a small “rain gutter” strip along the lower edge of each sidewall to channel runoff away from the entrance. The sidewall system also provides a natural barrier for the bounce house area, allowing you to keep the wet‑friendly play zone safe and dry without sacrificing the fun.
Preparing the Yard and Infrastructure
Before the delivery truck arrives, clear the placement zone of loose items, lawn furniture, and any debris that could puncture the tent floor. Level the ground using a garden roller or by laying down a temporary wooden platform if the soil is soft after recent rain. This step not only protects the tent’s legs but also helps distribute weight evenly, reducing the risk of collapse in windy conditions. Place heavy-duty stakes at each corner and along the perimeter; these are essential for anchoring the tent against gusts that often accompany stormy weather.
Power is another critical component. Our LED tent lighting requires a standard 120‑V outlet, while the sound system and bounce house blowers need dedicated circuits to avoid overload. Run extension cords from the nearest house power source, ensuring they are placed away from high‑traffic areas and protected with conduit if the ground is wet. If you lack sufficient outlets, a portable generator can be positioned outside the tent, with a proper grounding rod and fuel stored safely away from guests.
Timeline: From Setup to Rain‑Ready
Developing a detailed timeline keeps every team member aligned on when the rain plan becomes active. Begin by confirming the delivery date at least three days before the event—this gives us a window to verify that the address is within our service radius and to schedule the setup crew. On the morning of the event, our crew arrives early, typically two hours before the start time, to unload the tent, erect the frame, and attach the sidewalls. They also set up tables, chairs, and lighting in the order dictated by your floor plan.
During the setup window, continuously monitor the local weather forecast. If rain is predicted within the next six hours, the crew will fully raise the sidewalls and check that all seams are tight. Once the tent is secured, they will test the lighting and sound system under the covered space to ensure no electrical hazards. The final 30 minutes are reserved for a walk‑through with you, confirming that the rain‑protected zones (buffet, DJ, kids’ area) meet your expectations and that any last‑minute adjustments can be made before guests arrive.
Managing Logistics: Delivery, Power, and Safety
Our fulfillment team calculates delivery distance from Pendergrass to Grayson, which falls into the 31‑50‑mile bracket. Delivery fees are structured based on distance, with a free tier for the closest locations and a graduated schedule beyond that. While exact dollar amounts are discussed during the quote process, it’s helpful to know that the farther the venue, the higher the delivery charge, and that the same logic applies to any additional mileage required for equipment return. Understanding this framework helps you budget without needing to guess the exact cost.
Safety checks are performed at three critical points: before the tent is raised, after sidewalls are installed, and once all electrical equipment is connected. Our crew verifies that each tent pole is properly tensioned, that sidewall brackets are locked, and that all cables are routed away from foot traffic. For bounce houses, we ensure the inflatable is fully inflated, the blower is running on a dry surface, and a clear safety perimeter is marked. A final walk‑through with a safety officer confirms that the venue meets local fire code requirements and that emergency exit routes remain unobstructed.
Communication with Guests and Contingency Planning
Even with the best preparation, sudden thunderstorms can still surprise you. The most effective way to keep guests comfortable is to communicate the rain plan ahead of time. Include a brief note in the invitation that mentions the presence of a waterproof tent and sidewalls, and advise guests to dress for cooler, possibly damp conditions. On the day of the event, place a stylish welcome sign at the entrance, indicating the location of the rain‑protected area and any temporary walkways that stay dry.
Finally, develop a contingency checklist that outlines who to contact if the rain intensifies beyond the tent’s capacity. This may include a nearby indoor facility for emergency shelter, a local vendor for additional heaters, or a backup power source if the generator fails. By assigning these responsibilities to trusted individuals—such as a family member or event coordinator—you guarantee a swift response without disrupting the celebration’s flow. With a clear rain plan, the only thing you’ll need to worry about is having fun.
Frequently asked questions
What size tent is best for an 80‑guest backyard wedding in Grayson?
A 20×40 tent comfortably seats 64–80 guests and provides room for a dance floor and cocktail tables, making it ideal for that size party.
How do sidewalls protect the event if it starts raining?
Sidewalls attach to the tent frame and create a barrier against rain and wind, keeping the interior dry and safe for tables, equipment, and guests.
Can I still have a bounce house if the rain forecast shows a light shower?
Yes, as long as the bounce house is placed under the tent with sidewalls and the water source is managed, it can operate safely during light rain.
What power requirements should I plan for lighting and sound?
Both LED tent lighting and the sound system run on standard 120‑V outlets; ensure you have enough circuits or a generator with proper grounding for safe operation.
How far in advance should I confirm the rain‑plan details with DecoEvent ATL?
It’s best to lock in the tent size, sidewalls, and delivery schedule at least three days before the event to allow for site checks and final preparations.
What should I tell guests about the rain plan on the invitation?
Mention that a waterproof tent with sidewalls will be provided, advise appropriate attire for cooler weather, and note any indoor backup location if severe weather is expected.