
Existing four word sentence.
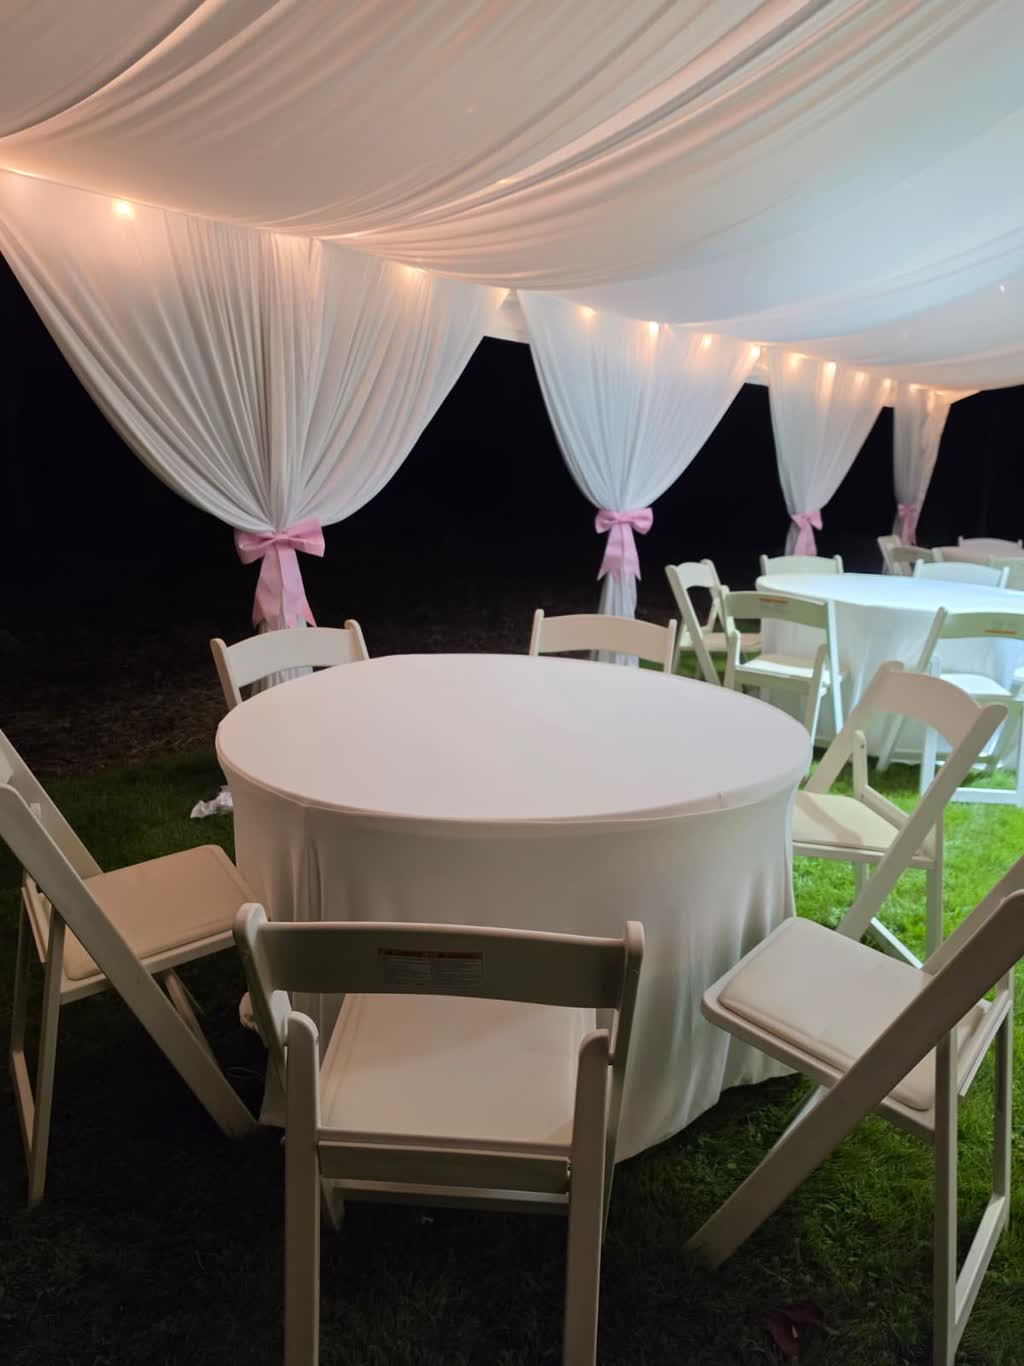
Guest‑Count Math
Understanding Table Capacities
Choosing the right table size helps you accommodate guests comfortably while keeping the layout open for movement. A four‑foot round table comfortably seats four to six people, making it ideal for intimate conversation clusters. A five‑foot round table provides space for eight guests without feeling crowded, and when the layout is optimized it can hold up to ten. A six‑foot round table fits ten guests in a standard arrangement; with an approved special layout it can accommodate up to twelve. Rectangular options follow a similar pattern: a six‑foot rectangle seats six to eight, while an eight‑foot rectangle holds eight to ten guests. Cocktail tables, typically thirty inches in diameter and available in thirty‑inch or forty‑two‑inch heights, are designed for standing guests and usually accommodate two to four people per unit. Planning one cocktail table for every eight to twelve standing guests creates a balanced flow for mingling.
Matching Tents to Guest Numbers
Tent size directly influences how many guests can be seated or how many can stand for a cocktail style event. A ten‑by‑ten foot tent provides coverage for six to eight seated guests or eight to ten standing guests. Doubling the length to ten‑by‑twenty increases capacity to sixteen to twenty seated guests, and up to twenty‑five when arranged for cocktail style. Moving to a twenty‑by‑twenty footprint raises seated capacity to thirty‑two to forty guests. A twenty‑by‑thirty tent supports forty‑eight to sixty seated guests, and a twenty‑by‑forty tent accommodates sixty‑four to eighty seated guests, with the possibility of reaching one hundred guests in a cocktail configuration. The largest offering, a thirty‑by‑sixty foot tent, can seat one hundred twenty to one hundred fifty guests depending on layout, and can expand to up to one hundred eighty guests for a standing cocktail arrangement. Sound equipment is sized to cover events with up to three hundred guests, ensuring clear audio for speeches, music, and announcements.
Yard Prep
Assessing the Space
Before any equipment arrives, a quick walk through the yard helps identify level ground, clear pathways, and any obstacles such as low branches, garden beds, or underground utilities. Marking the intended tent footprint with spray paint or stakes gives the crew a visual guide for placement. Measuring the distance from the nearest access point to the tent site assists in planning the delivery route and estimating the time needed for positioning heavy items. If the surface is grass, checking for recent watering or recent rain prevents soft spots that could affect stake stability. For concrete or patio surfaces, ensuring the area is clean and free of debris protects both the flooring and the equipment.
Clearing and Leveling
Remove any furniture, toys, or planters that sit inside the planned tent area. Trim back any overgrown shrubs or low hanging limbs that could interfere with pole installation or cause wind drag. If the ground shows noticeable slopes, using sand or gravel to create a level base improves stability and prevents water pooling under the tent floor. For events that require a dance floor, laying down interlocking panels on a level surface provides a safe and even area for guests to move. When using bounce houses or water slides, confirming a minimum clearance of at least five feet around the unit allows for safe entry, exit, and supervision.
Protecting Landscaping
Laying down ground protection boards or heavy‑duty tarps under the tent footprint shields grass from compaction and reduces the chance of staining from spills. For flower beds or delicate plants, installing temporary barriers such as wooden edging or plastic fencing keeps equipment away from root zones. If the event includes a grill or taquiza station, positioning a heat‑resistant mat beneath the cooking area protects the surface from grease and high temperatures. After the event, removing all protection materials and brushing the grass helps the lawn recover quickly.

Load‑In Timeline
Day‑Before Preparations
The logistics team reviews the order confirmation, checks inventory availability, and loads the truck with the requested tents, tables, chairs, linens, décor items, and any specialty equipment such as bounce houses or sound systems. A final call to the customer confirms the exact address, access restrictions, and any gate codes. The crew packs tools, stakes, ropes, and safety gear, ensuring everything is secured for transport.
Morning of the Event
Arrival typically begins two hours before the scheduled start time to allow for unloading, positioning, and assembly. The truck is parked as close as possible to the work zone, respecting any neighborhood parking regulations. Crew members wear high‑visibility vests and follow site‑specific safety protocols. The first items off the truck are the tent poles and fabric, which are laid out near the marked footprint.
Tent Erection
Using a combination of manual lifting and mechanical aids, the crew raises the tent frame, secures the base plates with stakes or weights, and pulls the canopy over the structure. Sidewalls are attached if requested, and any ventilation flaps are adjusted according to weather conditions. Once the tent is stable, the crew installs the flooring system if a dance floor or protected walking surface is part of the package.
Equipment Placement
Tables and chairs are arranged according to the seating plan approved during the consultation. Linens are smoothed over each table, and chair covers or sashes are added if selected. Décor elements such as draping, floral arrangements, balloon arches, and lighting fixtures are installed next. Sound speakers are positioned for optimal coverage, and microphones are tested. Bounce houses and water slides are inflated, anchored, and connected to power and water sources as needed, with safety mats placed at entry points.
Final Walk‑Through
Before guests arrive, the lead technician walks the entire site to verify that all items are secure, that pathways are clear, and that any rental items are presented as agreed. Lighting levels are checked, and any adjustable fixtures are set to the desired brightness or color. The sound system runs a brief test to confirm volume levels and clarity. Any last‑minute tweaks are made, and the crew signs off that the site is ready for guest arrival.
Rain Plan
Monitoring Weather Conditions
The team keeps an eye on forecasts starting three days before the event and continues to check updates on the morning of. If precipitation is expected, the crew prepares sidewalls and any additional waterproof covers that came with the tent package. For light rain, the tent’s waterproof fabric and sealed seams keep the interior dry, while sidewalls block wind‑driven moisture.
Sidewall Deployment
When rain becomes likely, sidewalls are zipped or fastened to the tent frame, creating a fully enclosed space. This setup protects guests, equipment, and décor from moisture while still allowing ventilation through mesh panels or vents if the weather permits. If the forecast calls for heavy rain or strong winds, the crew evaluates whether it is safe to proceed; if conditions exceed operational limits, the event may be rescheduled to a later date or moved to an alternate indoor location that the customer arranges.
Ground Protection Strategies
To prevent water from pooling under the tent, the crew may lay down a layer of gravel or sand beneath the floorboards, especially in low‑lying areas. Drainage channels can be dug temporarily to direct runoff away from the sitting area. For events that include a bounce house or water slide, the crew ensures that any water supply hoses are positioned so that leakage does not create slippery zones around the tent perimeter.
Local Logistics
Service Radius and Coverage
DecoEvent ATL operates within a forty‑mile radius centered on Pendergrass, Georgia. This area includes a broad selection of communities across Jackson, Barrow, Hall, Gwinnett, Fulton, Walton, Cherokee, Cobb, DeKalb, Rockdale, Newton, Forsyth, Banks, Habersham, White, Lumpkin, Dawson, Oconee, Clarke, Madison, and Oglethorpe counties. The company’s base location allows for efficient deployment of trucks and crew, keeping travel times predictable and helping to meet scheduled start times.
Delivery Charges Based on Distance
Delivery fees are calculated using the actual mileage from the Pendergrass dispatch point to the event address. Zones are defined as zero to fifteen miles with no charge, sixteen to thirty miles with a flat fee, thirty‑one to fifty miles with a higher flat fee, and distances beyond fifty miles assessed at a set rate per mile one way. The crew confirms the exact mileage once the full street address is provided, ensuring transparency before the final agreement is signed.
Weekend Availability and Booking Lead Time
Because tents, chairs, and bounce houses are in high demand, especially from spring through fall on Saturdays, the inventory is allocated on a first‑confirmed‑first‑served basis. Customers are encouraged to provide their preferred date as early as possible to secure the desired items. There is no complimentary hold period; the date becomes fixed only after a deposit is received and the booking is confirmed in the system.
Checklist
Information to Provide When Requesting a Quote
- Full legal name as it should appear on the contract
- Exact event address including street number, name, apartment or unit if applicable, city, state, and five‑digit ZIP code
- Event city and ZIP verified against the service‑area list
- Preferred event date
- Event start time and estimated end time
- Contact phone number and WhatsApp number if available
- Exact number of guests attending
- Email address for sending the written quote and any follow‑up documents
Items to Confirm Before the Crew Arrives
- Access point for the delivery truck, including any gate codes or restrictions
- Presence of low hanging branches, utility lines, or underground obstacles within the tent footprint
- Confirmation of whether sidewalls are needed based on the weather forecast
- Verification that the power supply can support the requested sound system, lighting, and any inflatable equipment
- Agreement on the placement of dining areas, dance floor, and activity zones such as bounce houses or slides
- Any special requirements for floral colors, draping fabrics, or balloon themes
- Confirmation that the surface (grass, concrete, patio) is suitable for staking or weighting the tent
- Details about any catering equipment such as a taquiza grill, including needed hose connections for water or gas
Day‑Of‑Event Quick Reference
- Lead technician arrives with a copy of the signed work order
- Crew checks in with the customer point of contact upon arrival
- All rental items are inspected for completeness and condition before installation
- Safety gear such as gloves, helmets, and high‑visibility vests are worn by all team members
- After installation, a final inspection verifies that all anchors are tight, all fabrics are secure, and all electrical connections are protected from moisture
- The lead technician walks the site with the customer to review the completed setup and answer any last questions
- After the event, the crew begins breakdown, loads all items onto the truck, and performs a final sweep to ensure nothing is left behind
- An invoice reflecting the agreed services is sent to the email provided, with payment processed via credit card