
Nicholson, Georgia
Guest‑Count Math
Understanding how many guests your space can comfortably hold starts with the basic furniture you plan to use. A standard 4‑foot round table accommodates four to six people when seated, making it ideal for intimate gatherings or cocktail style setups where guests may stand around the table. Moving up to a 5‑foot round table increases the capacity to eight guests comfortably, and with careful arrangement you can fit up to ten without compromising comfort. A 6‑foot round table is the workhorse for larger groups, seating ten guests with ease and allowing up to twelve in a specially approved layout that maximizes floor space while keeping aisles clear. Rectangular tables follow a similar pattern: a 6‑foot rectangle holds six to eight seated guests, while an 8‑foot rectangle can accommodate eight to ten. Cocktail tables, typically the 30‑inch Flash Furniture model, are designed for standing use and comfortably hold two to four guests; planners usually allocate one cocktail table for every eight to twelve attendees to ensure smooth flow.
When you move to the tent itself, the capacity numbers shift slightly because the open area allows for both seated and standing arrangements. A 10‑by‑10 foot tent fits six to eight seated guests or eight to ten standing guests, which makes it perfect for small ceremonies or dessert stations. Doubling the length to a 10‑by‑20 foot tent raises the seated capacity to sixteen to twenty and can support up to twenty‑five guests in a cocktail‑style layout where people mingle freely. The 20‑by‑20 foot tent is a popular choice for medium‑sized events, seating thirty‑two to forty guests comfortably. Expanding to a 20‑by‑30 foot tent provides seating for forty‑eight to sixty guests, while a 20‑by‑40 foot tent accommodates sixty‑four to eighty seated guests and can reach up to one hundred when arranged for standing cocktails. The largest offering, the 30‑by‑60 foot COBIZI tent, seats between one hundred twenty and one hundred fifty guests depending on the layout, and can be configured for up to one hundred eighty guests in a cocktail orientation.
Sound system limits are also tied to guest count. The audio equipment provided by DecoEvent ATL is calibrated to deliver clear coverage for up to three hundred guests, ensuring that announcements, music, and speeches are heard without distortion. When you combine table capacities, tent dimensions, and sound limits you can build a precise guest‑count estimate that matches both the venue size and the desired experience level.
Yard Preparation
Before any tent or equipment arrives, the backyard must be evaluated to guarantee a safe and stable installation. Begin by walking the perimeter and noting any slopes, low spots, or areas where water tends to collect after rain. Even a slight incline can affect how the tent anchors sit, so it is important to identify the flattest zone possible for the main structure. If the yard has grass, the installation team will use specialized stakes or weights designed to hold the tent securely without damaging the turf. For concrete or paved surfaces, ballast systems or ground plates are used instead of stakes, providing the same level of stability.
Clear the work area of any debris, toys, garden tools, or loose stones that could interfere with the anchoring process or create tripping hazards. Trim back low‑hanging branches or shrubs that might come into contact with the tent fabric or sidewalls, as contact can cause wear over time and potentially lead to leaks. If there are existing flower beds or delicate landscaping, consider placing protective ground coverings such as plywood sheets or interlocking tiles beneath the tent footprint to distribute weight and prevent compaction of the soil.
Access for delivery vehicles is another critical factor. Measure the width of the driveway or gate to confirm that the truck carrying the tent, tables, chairs, and any additional equipment can pass through without obstruction. If the path is narrow, discuss alternatives with the team ahead of time, such as using a smaller vehicle for the final leg or arranging a temporary removable fence panel. Ensure there is a clear, level staging area close to the installation site where the crew can unload and organize components before they are moved into place.
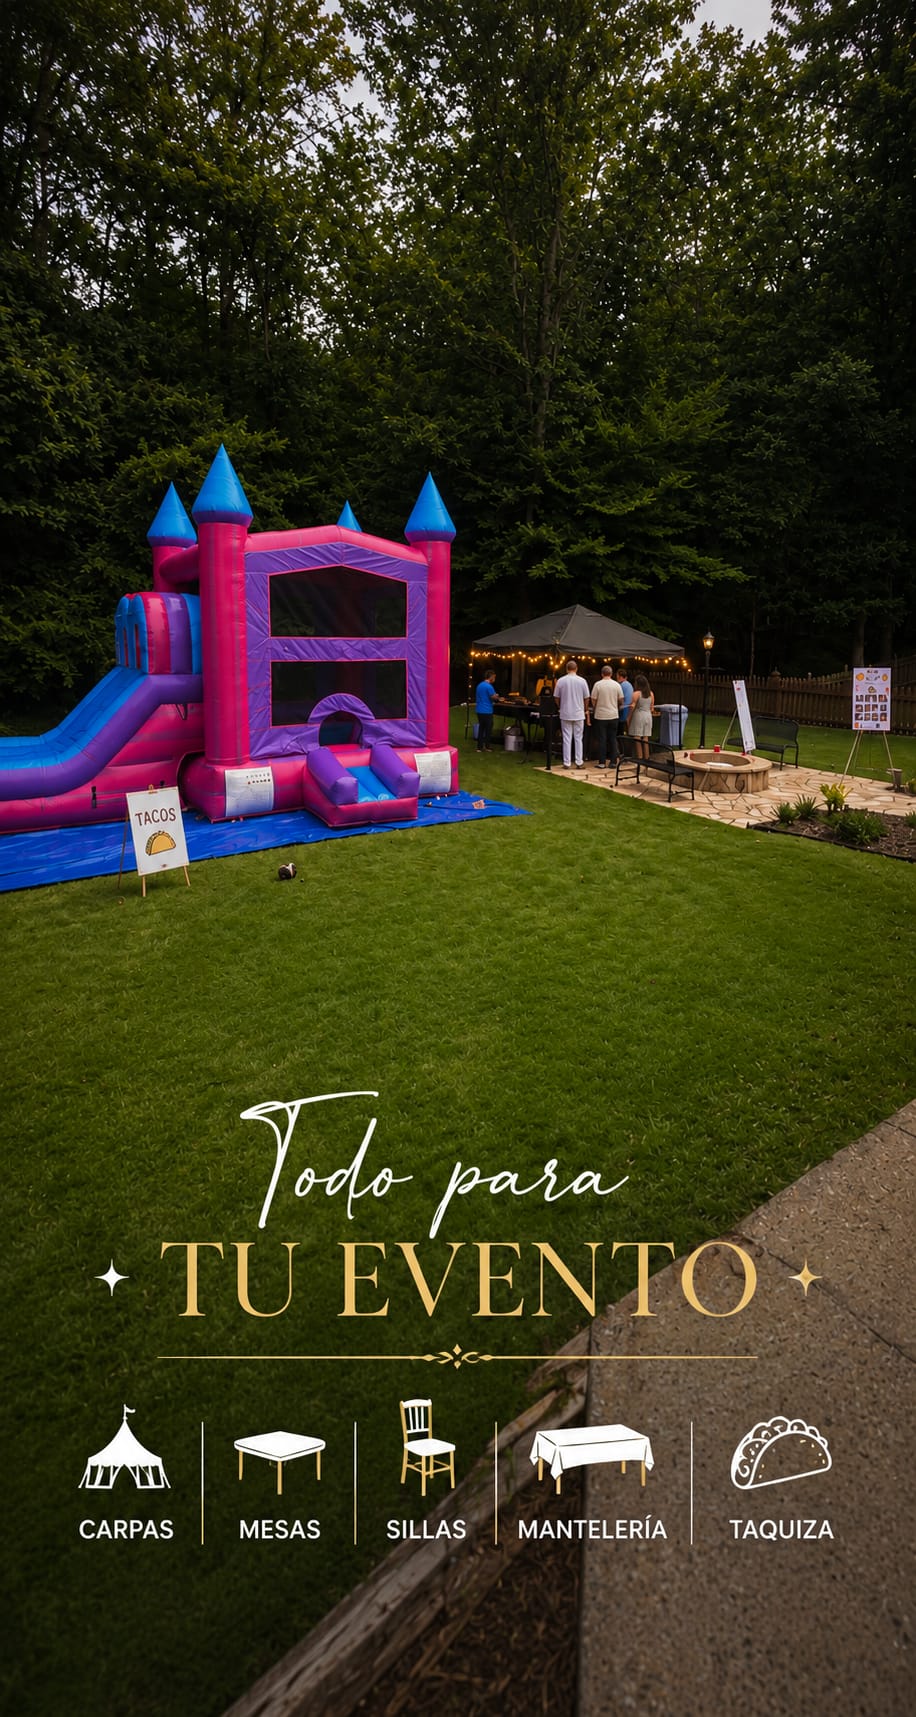
Finally, verify that there is adequate space for any auxiliary items you plan to include, such as a buffet table, a dance floor, or a bounce house. Sketch a rough layout on paper or use a simple online tool to visualize how each element will fit together, leaving sufficient walkways of at least three feet between major components to allow guests to move freely and staff to service equipment during the event.
Load‑In Timeline
A well‑organized load‑in schedule helps the event start on time and reduces stress for everyone involved. The process typically begins early in the morning, often around eight o’clock, when the delivery vehicle arrives at the address. The crew first checks in with the homeowner or point of contact to confirm the exact drop‑off location and any specific instructions regarding gates, pets, or parking restrictions.
The first items unloaded are usually the tent components, including the frame poles, fabric, and anchoring hardware. Because the tent is the largest single piece, the team dedicates the initial thirty to forty‑five minutes to laying out the frame on the ground, verifying that all parts are present, and beginning the assembly. While the tent frame is being constructed, other crew members may start pulling out tables and chairs from the truck, stacking them in a nearby staging zone to keep the work area tidy.
Once the tent frame is upright and secured with stakes or weights, the fabric is draped over the structure and fastened. This step generally takes another twenty to thirty minutes, depending on the size of the tent and the number of crew members assisting. After the tent is fully erected, the sidewalls can be added if the event calls for them, providing extra protection against wind or light rain.
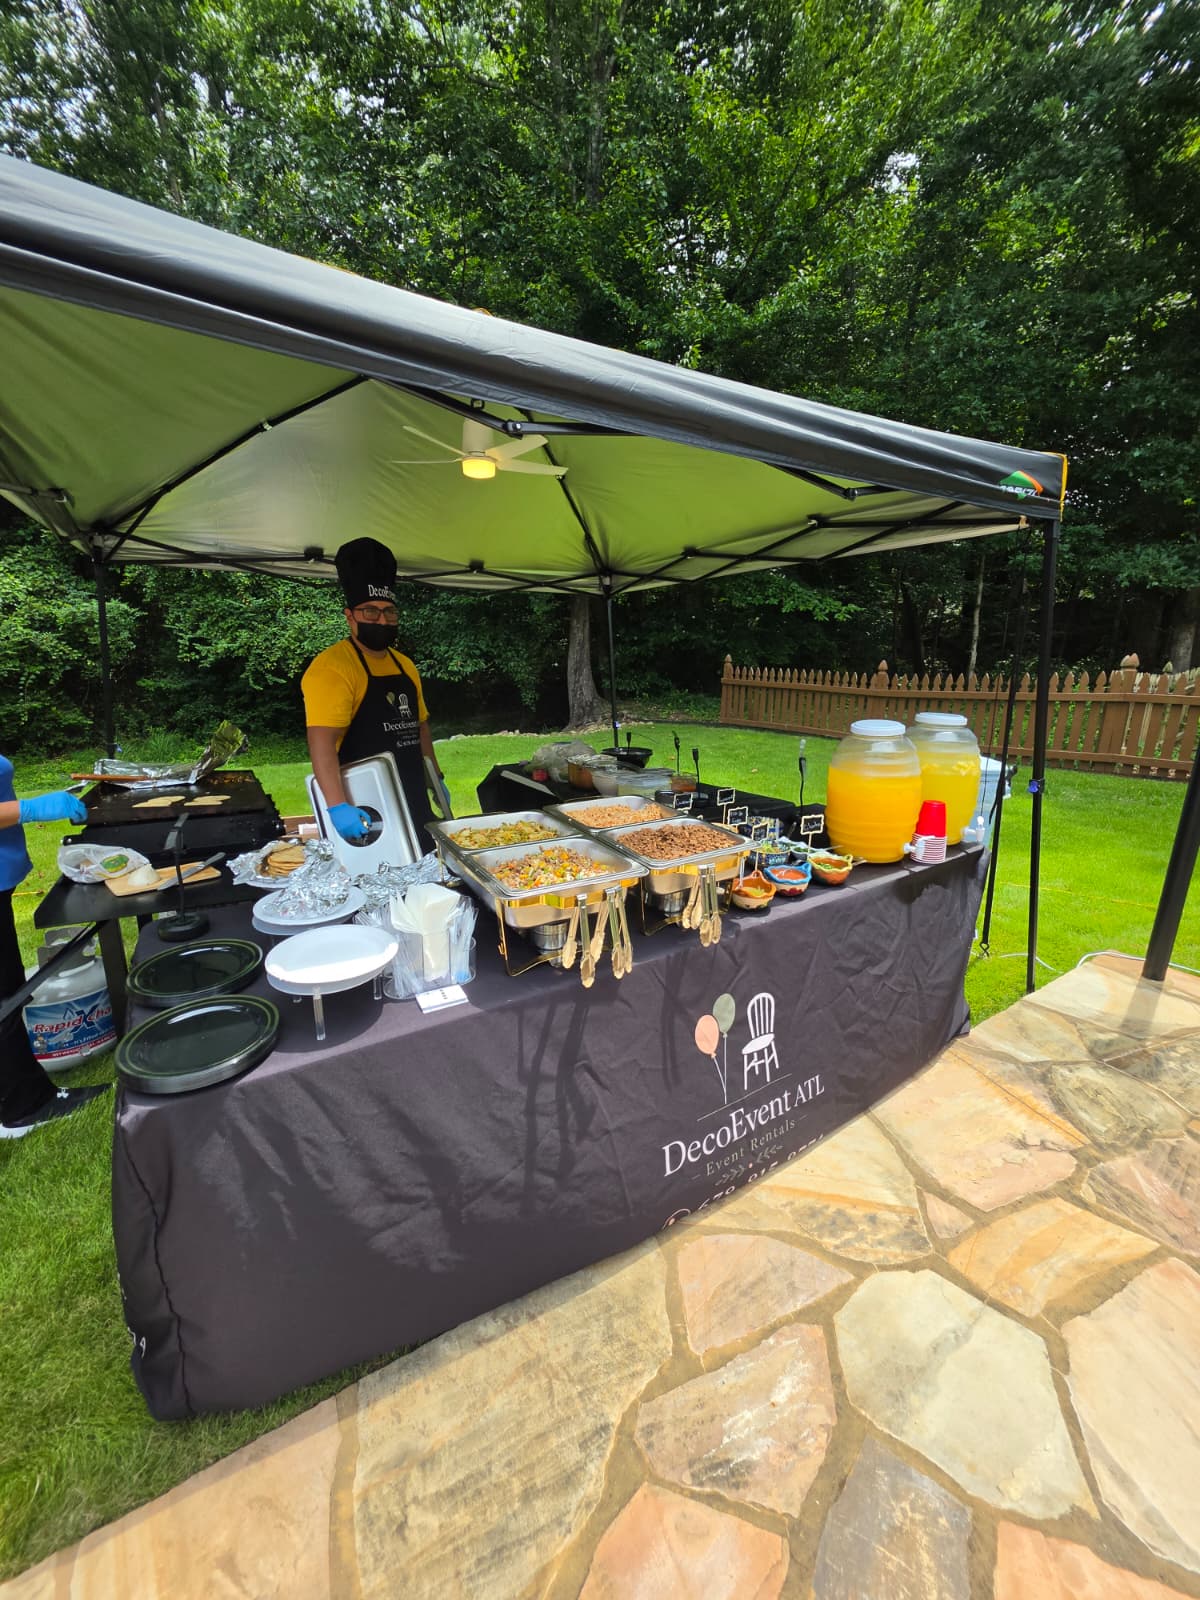
With the tent in place, the focus shifts to furniture arrangement. Tables are positioned according to the pre‑approved layout plan, followed by the careful placement of chairs. Linens, runners, and napkins are then laid out, and any decorative elements such as centerpieces, lanterns, or welcome mirrors are added. If the event includes a buffet or food service area, a secondary smaller tent may be erected nearby, complete with its own set of tables and linens.
Technical equipment such as the sound system, lighting, and fans is installed next. Speakers are placed at optimal points to ensure even coverage, LED tent lighting is clipped to the interior frame, and bistro strings are strung above the dining or dance area if requested. Industrial fans are positioned to promote air circulation, especially in warmer weather.
The final stage involves a walk‑through with the client to confirm that everything matches expectations, address any last‑minute adjustments, and ensure that all safety considerations, such as clear exits and anchored equipment, are satisfied. Once the client signs off, the crew considers the load‑in complete and prepares for the event to begin.
Rain Plan
Weather can change quickly, and having a reliable rain plan protects both the guest experience and the investment in equipment. DecoEvent ATL equips each tent with optional sidewalls that can be quickly attached to create a fully enclosed space. These sidewalls are made from the same waterproof, UV‑protected material as the tent roof and are secured with the same anchoring system, ensuring they remain stable even in gusty conditions.
If the forecast shows a chance of precipitation, the crew will monitor updates throughout the day and prepare to deploy the sidewalls as soon as rain begins. The sidewalls zip together along the edges, forming a barrier that keeps the interior dry while still allowing for ventilation through designed mesh panels or vents, which prevent condensation buildup.
In addition to sidewalls, the team can bring extra ground coverings such as heavy‑duty tarps or interlocking flooring tiles to place under high‑traffic zones like the entrance, buffet line, or dance floor. These coverings help prevent mud from being tracked inside the tent and provide a stable walking surface for guests.
For events that include delicate items such as paper invitations, electronic equipment, or floral arrangements, the crew will advise on placing these items on elevated tables or within the covered area of the tent to keep them away from any potential water seepage.
Should the weather become unsafe—for example, if wind speeds exceed the limits for which the tent is rated—the crew will discuss options with the client, which may include postponing the setup to a later time, moving the event to an alternative date, or, if the client prefers, proceeding with a reduced setup that focuses on essential elements only. All decisions are made with safety as the top priority, and the team maintains clear communication throughout the process.
Local Logistics
Operating within a forty‑mile radius of Pendergrass, Georgia means that DecoEvent ATL is familiar with the road networks, municipal guidelines, and community characteristics that affect each job. For Nicholson specifically, the town sits in Jackson County and is accessed primarily via State Route 53 and Highway 124, both of which accommodate the box trucks used for deliveries. The crew checks for any ongoing roadwork or seasonal restrictions that could affect travel time, allowing them to adjust departure schedules accordingly.
Because the service area includes a mix of suburban neighborhoods and more rural properties, the team evaluates each driveway for width, surface type, and overhead clearance. Low hanging power lines or tree limbs are noted during the initial site visit, and if any pose a risk, the crew coordinates with the homeowner to trim or temporarily relocate obstacles before the load‑in begins.
Local noise ordinances are also taken into account, especially for events that run late into the evening. The sound system is calibrated to stay within permissible decibel levels for residential areas, and the crew can offer directional speakers or sound‑absorbing panels to minimize impact on neighboring homes.
Traffic patterns around Nicholson tend to be light during weekday mornings but can increase during school pickup and drop‑off times. The crew schedules the arrival of heavy equipment outside of these peak windows whenever possible to avoid delaying the setup and to keep the driveway clear for residents.
Finally, the team maintains a list of nearby suppliers for any last‑minute needs, such as additional linens, replacement bulbs for lighting, or extra anchoring weights. This network ensures that if an unforeseen issue arises, it can be resolved quickly without having to wait for a shipment from farther away.
Checklist
To help you stay organized from the first inquiry to the final takedown, here is a comprehensive checklist that covers every major step of the process.
- Confirm event date, start time, and expected guest count.
- Provide the full address including street, city, state, and ZIP code for verification against the service‑area map.
- Share contact details: phone number, WhatsApp, and email address for quote delivery and updates.
- Discuss desired tent size and style based on guest‑count math and layout preferences.
- Select tables, chairs, and linens; confirm quantities and any special requests such as chair cushions or table runners.
- Choose decorative elements: lighting options, centerpieces, welcome mirror wording, florals, or balloon arrangements.
- Decide on additional features: sound system, fans, dance floor, buffet tent, or bounce house/water slide.
- Address site preparation: clear debris, mark level area, check access for delivery trucks, protect landscaping.
- Review rain plan options: sidewalls, ground coverings, and contingency plans for severe weather.
- Confirm load‑in window and any timing constraints such as noise curfews or neighborhood restrictions.
- Agree on payment method and provide invoicing details once the quote is finalized.
- After deposit, schedule a backyard measurement visit if desired to fine‑tune the layout.
- On the day of the event, perform a walk‑through with the crew to verify setup matches expectations.
- Enjoy the celebration, knowing that the team will handle takedown and cleanup after the event concludes.
Frequently asked questions
Now craft FAQ lines: each "Question
Answer". Answer 30-60 words plain text.