
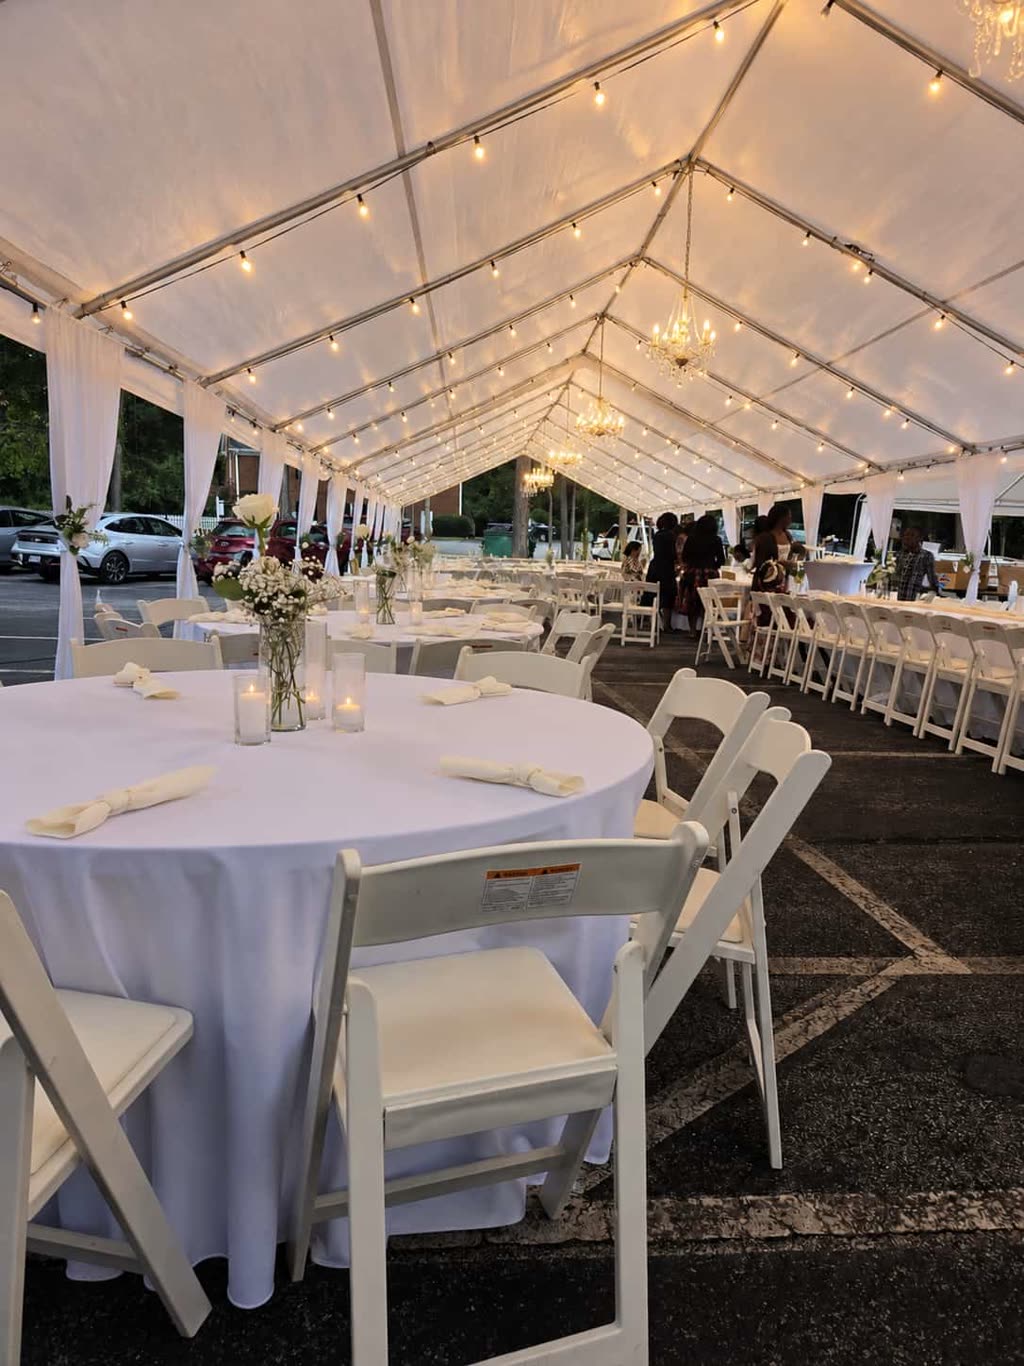
Guest‑Count Math
Understanding how many guests your space can comfortably accommodate is the first step in planning a successful event. DecoEvent ATL provides clear guidelines based on the tables and tents you choose, ensuring that every guest has enough room to move, dine, and celebrate.
Seating Capacity by Table Type
- A 4‑foot round table comfortably seats 4 to 6 guests.
- A 5‑foot round table seats 8 guests comfortably and can accommodate up to 10 when the layout is optimized.
- A 6‑foot round table seats 10 guests comfortably; a specially approved layout may allow up to 12, but this must be confirmed with our team.
- A 6‑foot rectangular table seats 6 to 8 guests.
- An 8‑foot rectangular table seats 8 to 10 guests.
- A cocktail table (30‑inch Flash Furniture, 30‑inch or 42‑inch height) accommodates 2 to 4 standing guests; plan for roughly one cocktail table per 8 to 12 event guests.
Seating Capacity by Tent Size
- A 10×10 foot tent holds 6 to 8 seated guests or 8 to 10 standing guests.
- A 10×20 foot tent holds 16 to 20 seated guests or up to 25 cocktail‑style guests.
- A 20×20 foot tent holds 32 to 40 seated guests.
- A 20×30 foot tent holds 48 to 60 seated guests.
- A 20×40 foot tent holds 64 to 80 seated guests or up to 100 cocktail‑style guests.
- A 30×60 foot tent holds 120 to 150 seated guests depending on layout or up to 180 cocktail‑style guests.
When you combine table and tent capacities, you can calculate the maximum guest count for your event. Always leave a buffer for aisles, service areas, and any additional features such as a dance floor or buffet station.
Yard Preparation
Preparing your backyard ensures a smooth installation and a safe environment for your guests. Follow these steps before our team arrives.
Clear the Area
- Remove any furniture, toys, garden tools, or debris that could obstruct the tent footprint.
- Trim low‑hanging branches and clear away loose rocks or sticks.
- If you have a sprinkler system, mark the heads so they can be avoided during staking.
Assess the Ground
- Identify any soft spots, uneven terrain, or areas prone to water pooling.
- For grass installations, our team uses weighted sand bags or ground spikes that secure the tent without damaging the lawn.
- For concrete or paved surfaces, we use base plates and friction pads to keep the structure stable.
Access and Utilities
- Ensure a clear path from the street or driveway to the setup zone for our delivery truck and equipment.
- Confirm the availability of a 110‑volt power source within 100 feet of the intended tent location for lighting, sound, and any bounce‑house blowers.
- If a water source is needed for wet bounce houses or slides, verify that a garden hose can reach the area.
Safety Checks
- Keep pets and children indoors during the installation window.
- Notify neighbors if the event may affect shared driveways or parking spaces.
- Have a first‑aid kit and a fire extinguisher readily available on the day of the event.
Load‑In Timeline
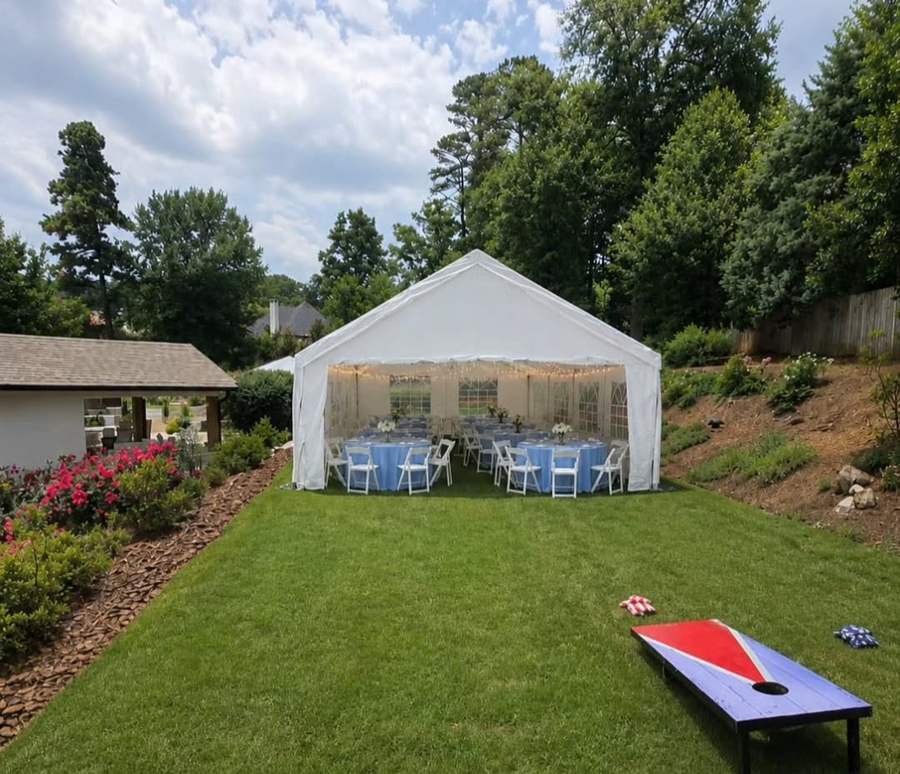
A well‑organized load‑in schedule minimizes disruption and ensures that everything is ready when your guests arrive. Below is a typical timeline for a mid‑size event; actual times may vary based on the specific services you select.
Two Hours Before Start Time
- Arrival of the delivery truck with tents, tables, chairs, and linens.
- Unloading of equipment onto a staged area near the work zone.
One Hour Forty‑Five Minutes Before Start Time
- Begin tent anchoring: install ground spikes or sand bags, raise the frame, and secure the cover.
- Start laying out the flooring or ground protection if required.
One Hour Thirty Minutes Before Start Time
- Install sidewalls if you have opted for them (useful for wind or rain protection).
- Begin positioning tables and chairs according to the floor plan.
One Hour Before Start Time
- Attach lighting: LED tent lighting or bistro strings as per your selection.
- Set up the sound system: place speakers, mixers, and microphones.
- Begin draping and installing any decorative elements such as centerpieces, welcome mirrors, or floral arrangements.
Forty‑Five Minutes Before Start Time
- Place linens, runners, and napkins on tables.
- Set up the buffet or food service area if you have added a secondary tent for catering.
- Position any bounce houses, water slides, or game equipment, ensuring blowers and hoses are connected.
Thirty Minutes Before Start Time
- Do a final walk‑through with the client to confirm layout, lighting levels, and sound check.
- Make any last‑minute adjustments to table spacing or chair alignment.
- Ensure all walkways are clear and that emergency exits are unobstructed.
Fifteen Minutes Before Start Time
- Welcome the first guests and direct them to the reception area.
- Keep a staff member on site to monitor power, lighting, and guest flow throughout the event.
Rain Plan
Weather can change quickly, especially in the spring and summer months. DecoEvent ATL has a proactive rain plan to keep your celebration dry and enjoyable.
Sidewall Options
- Clear vinyl sidewalls can be added to any tent size to shield against wind and rain while maintaining visibility.
- Solid fabric sidewalls provide full enclosure and are ideal for heavier precipitation.
Drainage Considerations
- Our team evaluates the natural slope of your yard and may recommend placing the tent on higher ground or using sand bags to divert water away from the interior.
- For concrete surfaces, we ensure that the tent’s edges are sealed to prevent water from seeping underneath.
Contingency Rescheduling
- If forecasted conditions pose a safety risk (e.g., sustained winds over 20 mph or lightning), we will work with you to reschedule the event to the next available date.
- There is no fee for weather‑related rescheduling; we simply require confirmation of the new date.
- We maintain open communication via phone or WhatsApp to keep you informed of any changes.
On‑Site Adjustments
- Should a brief shower occur during the event, our crew can quickly deploy sidewalls and secure any loose items.
- All electrical equipment is rated for outdoor use and is protected with ground‑fault circuit interrupters (GFCIs).
Local Logistics
Understanding the specifics of the Lula area helps us deliver timely and efficient service. Below are key points about transportation, permits, and neighborhood considerations.
Service Radius and Travel Time
- DecoEvent ATL operates within a 40‑mile radius of Pendergrass, Georgia. Lula, Georgia falls comfortably within this zone, typically requiring a 20‑ to 30‑minute drive from our base.
Permits and Regulations
- Most residential events in Lula do not require a special permit for tents under 200 square feet, but we recommend checking with Hall County’s planning department if you plan a large structure or multiple tents.
- If your event will affect a public sidewalk or street, a temporary use permit may be needed; our team can guide you through the application process.
- We always respect Homeowners Association (HOA) guidelines; please provide any relevant rules so we can align our setup accordingly.
Neighborhood Considerations
- Inform adjacent neighbors about the event date and approximate start and end times, especially if music or amplified sound will be used.
- Keep noise levels within local ordinances; we can provide sound‑level recommendations based on your guest count and venue size.
- Ensure that parked vehicles do not block driveways, fire hydrants, or mailboxes.
Emergency Services Access
- Maintain a clear path to the property for ambulance or fire truck access.
- Provide the exact address (street, city, state, ZIP) to our team so that emergency responders can locate you quickly if needed.
Event Day Checklist
Use this checklist to confirm that every detail has been addressed before your guests arrive. Print it out or keep it on your phone for easy reference.
Pre‑Arrival (24‑48 Hours Prior)
- Verify the event address with our team, including street number, unit, city, state, and 5‑digit ZIP.
- Confirm the event date, start time, and expected end time.
- Provide a final guest count.
- Share any special requirements (e.g., accessibility needs, power restrictions, pet considerations).
- Ensure payment method (credit card) is ready for invoicing.
Morning of the Event
- Clear the backyard of personal items, toys, and garden tools.
- Trim any low branches and remove debris from the tent footprint.
- Mark sprinkler heads and any underground utilities.
- Confirm that a 110‑volt power source is accessible within 100 feet of the setup zone.
- If using wet bounce houses or slides, ensure a garden hose can reach the area.
- Notify neighbors of the upcoming event, if appropriate.
During Load‑In (As per Timeline)
- Watch for the arrival of the delivery truck and confirm that all expected items are present.
- Observe the tent anchoring process to ensure stakes or sand bags are properly installed.
- Check that sidewalls, if selected, are securely attached and sealed.
- Verify that lighting fixtures are functioning and positioned as discussed.
- Test the sound system for clarity and volume before guests arrive.
- Inspect tables, chairs, linens, and décor for any defects.
- Confirm that bounce houses, water slides, and games are anchored, blowers are running, and hoses are connected (if wet).
Guest Arrival
- Greeters or hosts should be present to welcome guests and direct them to the reception area.
- Ensure that walkways are clear and that any cords or cables are taped down or covered.
- Monitor the temperature inside the tent; adjust sidewalls or ventilation as needed.
- Keep a designated adult supervising any bounce house or water slide at all times.
During the Event
- Assign a point person to oversee power, lighting, and sound equipment.
- Check restroom facilities (if provided) regularly for supplies and cleanliness.
- Monitor food and beverage stations for spills and replenish as needed.
- If weather changes, be prepared to deploy sidewalls or move guests to sheltered areas.
Post‑Event (After Guests Depart)
- Collect all personal belongings, decorations, and rental items.
- Our team will begin disassembly: remove lighting, dismantle tables and chairs, fold linens, and take down the tent.
- Inspect the yard for any damage and report concerns to our team immediately.
- Ensure that all equipment is loaded onto the truck and that the exit path is clear.
- Receive the final invoice and confirm that all services have been rendered to your satisfaction.
By following this comprehensive checklist, you can help ensure that your event in Lula, Georgia runs smoothly from start to finish, leaving you free to enjoy the celebration with your guests.