
Tent on sloped yard Gillsville ga: Key Considerations
Hosting an event in G
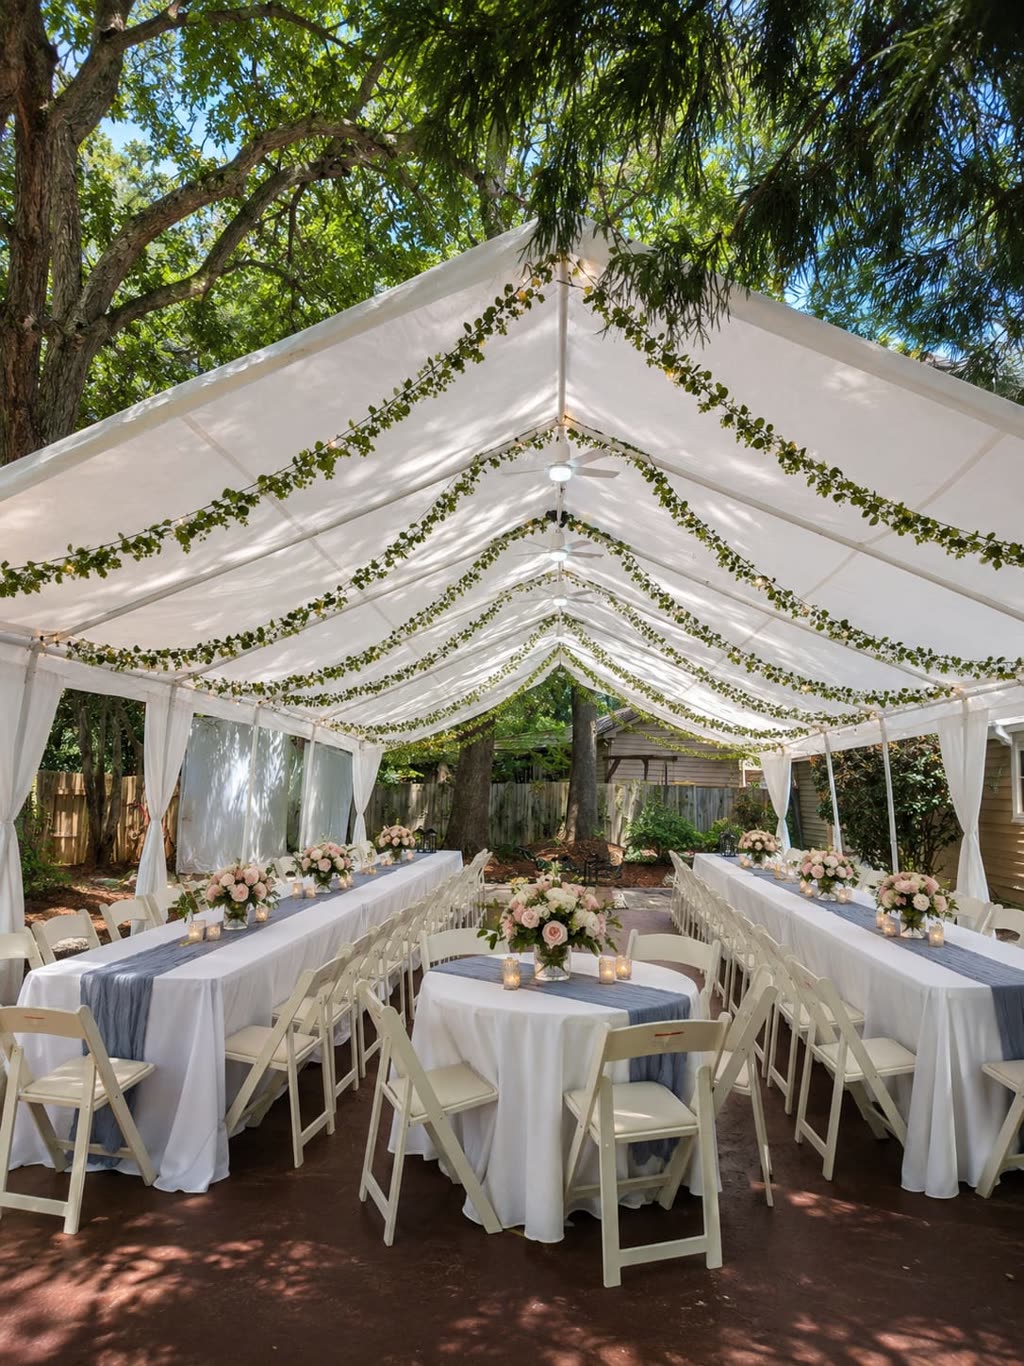
Guest‑Count Math
Understanding how many guests your space can accommodate helps you choose the right tent size and layout. Start by deciding whether you prefer a seated dinner, a cocktail‑style reception, or a mix of both. Seated arrangements require more floor space per person because chairs and tables need room for movement. Cocktail layouts allow guests to stand and mingle, which can increase capacity within the same footprint.
For round tables, a 5‑foot table comfortably seats eight guests, while a 6‑foot round table seats ten guests in a standard configuration. Rectangular tables follow a similar pattern: a 6‑foot rectangle fits six to eight people, and an 8‑foot rectangle fits eight to ten. When you plan a dance floor or a buffet line, subtract the area those features occupy from the total usable space before calculating table counts.
If you anticipate a larger crowd, consider adding cocktail tables. A typical 30‑inch Flash Furniture cocktail table accommodates two to four standing guests. A rule of thumb is to provide one cocktail table for every eight to twelve guests, ensuring there are enough surfaces for drinks and appetizers without overcrowding the floor.
Finally, always leave clear aisles of at least three feet between rows of tables and around the perimeter of the tent. This space supports easy service, safe evacuation, and comfortable movement for guests of all ages.
Yard Preparation
Preparing the yard before the tent arrives prevents delays and ensures a stable setup. Begin by walking the entire area to identify any slopes, low spots, or soft ground that could shift under weight. Mark the highest point of the slope; this will be the reference for leveling the tent floor.
If the slope is gentle, you can use adjustable‑height tent legs or shims to create a flat platform. For steeper inclines, consider building a temporary deck or using interlocking flooring panels that distribute weight evenly and reduce the risk of slipping.
Remove debris such as sticks, rocks, and loose mulch. These items can puncture the tent floor or create tripping hazards. If the ground is grassy, mow it short a day before installation to provide a firmer surface. For sandy or loose soil, lightly tamp the area with a plate compactor or a heavy roller to increase stability.
Check for underground utilities before driving any stakes or anchors. Use a utility locator service or contact the local authority to confirm that there are no gas, water, or electric lines in the planned anchor zones. This step protects both your equipment and the surrounding infrastructure.
Finally, lay down a ground‑cover tarp if the site is prone to moisture. A tarp adds an extra barrier against dampness and helps keep the tent interior dry, especially when the event runs into the evening.
Load‑In Timeline
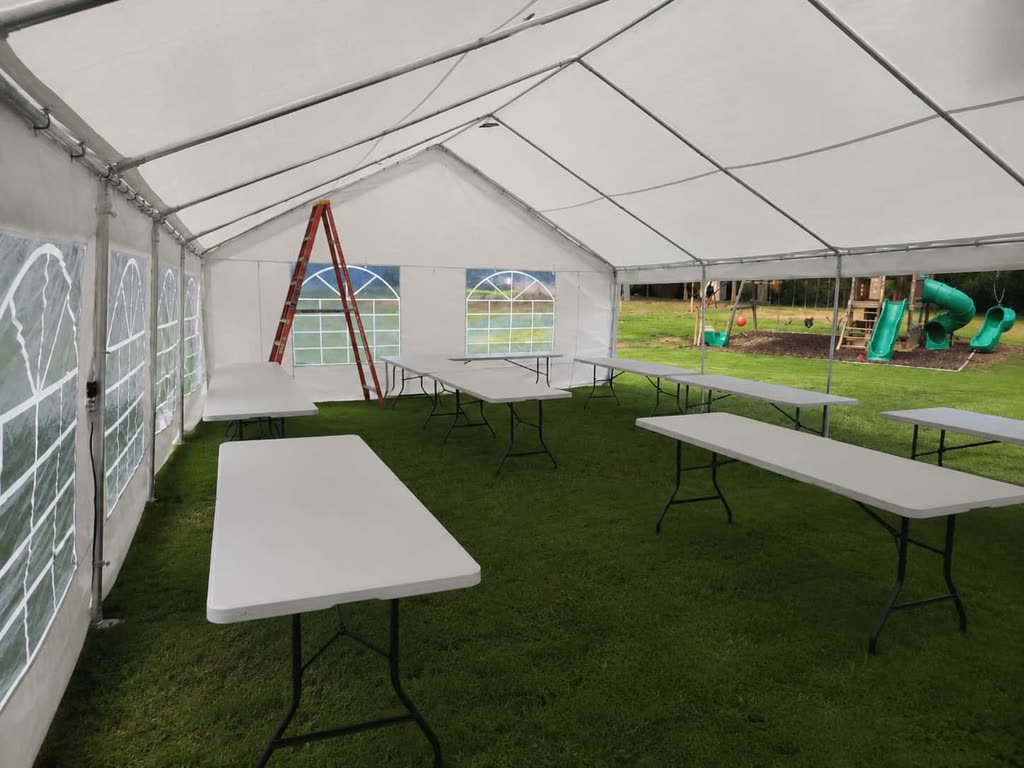
A clear load‑in schedule keeps the setup crew focused and reduces the chance of missing any component. Begin the day of the event by confirming the delivery window with the rental provider. Aim to have the truck arrive at least two hours before the scheduled start time, allowing buffer for unexpected delays.
First, unload the tent poles, fabric, and hardware. Lay out all parts near the installation site so the team can verify that nothing is missing. Next, position the base plates or adjustable legs according to the pre‑marked layout. If you are using shims or leveling blocks, place them now.
Once the frame is standing, raise the tent fabric evenly. Start at one corner and work your way around, pulling the fabric taut to avoid wrinkles. Secure the fabric with the provided straps or bungee cords, checking that the tension is uniform on all sides.
After the tent is up, install any sidewalls, windows, or doors that were ordered. Attach them securely to the frame, ensuring that zippers operate smoothly and that there are no gaps that could let wind or rain inside.
Proceed to place tables, chairs, and any additional furniture. Follow the seating plan you created earlier, leaving the required aisles open. If you are adding lighting, hang the LED tent strings or bistro lights before bringing in the final décor items.
Conduct a final walkthrough with the client or event coordinator. Verify that all anchors are tight, that the tent is level, and that the interior meets the agreed‑upon layout. Sign off on the load‑in and note the exact time the setup was completed for future reference.
Rain Plan
Weather can change quickly, so having a rain plan protects both the event and the equipment. The primary defense is the tent’s sidewalls. When rain is forecast, close all sidewalls and secure them with the supplied Velcro or snap fasteners. This creates a sealed environment that keeps the interior dry while still allowing ventilation through the roof vents.
If the event includes a dance floor or a buffet table, consider placing a removable waterproof cover over those areas. Many rental companies offer clear vinyl covers that attach to the frame and can be removed quickly once the rain passes.
In the event of heavy rain or strong winds, monitor the tent’s anchoring system. Check that all stakes or weight bags are firmly seated and that the ropes show no signs of fraying. If the wind speed approaches the manufacturer’s safe limit, be prepared to evacuate the tent and move guests to a sheltered area such as a garage or a nearby covered patio.
Communication is key. Assign one person to monitor a reliable weather app or local alerts and to relay updates to the rest of the team. Keep a list of emergency contacts, including the rental company’s after‑hours line, so you can request assistance if the setup needs reinforcement.
After the rain passes, open the sidewalls to allow fresh air to circulate and to prevent moisture buildup inside the fabric. Inspect the tent for any water pockets and gently shake out excess water before packing it away for the next use.
Local Logistics
Operating within a 40‑mile radius of Pendergrass, Georgia means understanding the specific characteristics of Gillsville and the surrounding communities. Gillsville lies in Hall County, just a short drive from the city of Gainesville, which provides easy access to major highways such as I‑985 and US‑129. This proximity helps reduce travel time for delivery trucks and ensures timely arrival of equipment.
When scheduling a delivery, consider the typical traffic patterns on weekday mornings and evenings. The stretch of GA‑52 that runs through Gillsville can experience moderate congestion during school drop‑off and pick‑up hours. Planning the load‑in for mid‑morning or early afternoon often avoids the heaviest traffic.
Parking restrictions may apply in residential neighborhoods. Verify with the homeowner or property manager whether a street‑parking permit is needed for the rental truck. If street space is limited, arrange for a temporary driveway permit or use a nearby vacant lot that the owner has approved for vehicle staging.
Utility access is another factor to confirm. Ensure that there is an outdoor power outlet within 100 feet of the tent site if you plan to use lighting, sound systems, or a blower for bounce houses. If no outlet is available, a generator may be required; check local noise ordinances to confirm permissible operating hours.
Finally, be mindful of local wildlife and pets. In the Gillsville area, it is common to encounter deer, raccoons, or neighborhood dogs. Secure any food items or trash containers inside the tent or in sealed bins to deter unwanted visitors.
Event Checklist
A comprehensive checklist helps you verify that every detail has been addressed before guests arrive. Use this list as a final walkthrough tool.
- Confirm the exact event address, including street number, city, state, and ZIP code.
- Verify that the city and ZIP are inside the service area; note the county (Hall).
- Record the event date, start time, and expected end time.
- Collect the host’s full name, phone number, and email address.
- Note the anticipated guest count and the preferred setup (seated, cocktail, or mixed).
- Check that the tent size matches the space requirements based on guest‑count math.
- Inspect the yard for slope, soft spots, debris, and utility lines.
- Ensure all anchoring equipment (stakes, weight bags, ropes) is present and in good condition.
- Validate that the tent fabric, sidewalls, poles, and hardware are free of tears or defects.
- Confirm delivery window and inform the crew of any parking or access restrictions.
- Test power outlets or generator placement for lighting, sound, and any electrical rentals.
- Review the rain plan: sidewalls, covers, and evacuation procedure are clear.
- Check that all tables, chairs, linens, and cocktail tables are clean and ready.
- Verify that decorative items such as draping, florals, balloon arches, and lighting are accounted for.
- Inspect bounce houses or water slides for cleanliness, proper blowers, and hose connections.
- Ensure that the sound system is set up, speakers are positioned, and microphones are tested.
- Confirm that the taquiza or paella station has the required fuel, utensils, and serving supplies.
- Do a final safety walk: aisles are clear, exits are unobstructed, and ground‑cover tarp is secure.
- Take photos of the completed setup for records and for the client’s reference.
- Thank the host and provide contact information for any questions during the event.