
Choosing the Right Tent for a Kitchen‑Ready Event
A well‑spaced tent forms the backbone of any portable kitchen. In Jefferson, a 20×20 COBIZI commercial tent comfortably seats 32–40 guests when arranged for a sit‑down reception, and it provides ample interior volume to accommodate a full kitchen station. The galvanized steel frame not only resists wind but also allows you to anchor sidewalls to create a weather‑protected cooking zone. Since Jefferson’s backyard plots typically feature uneven grass slopes, add a 4‑foot rubber foundation and secure the tent’s base with stakes and guy lines to prevent tipping. Scenario planning is essential: confirm the weather forecast the week before; a 20×20 layout will hold the cooking station on one side while you dedicate the remaining space for dining tables and a clean casual zone.
Guest count math starts with the tent’s seating capacity. For a 50‑guest party, a 20×20 tent plus an extra 10×20 tent can serve as a buffet area and a dining area. The second tent allows a separate cooking station, so the chefs have no chance to spill sauce on guests. If your yard has a pool or a terrain feature, place the smaller tent opposite the main to keep decks clear. The split layout also reduces crowding, so diners can mingle around the kitchen without compromising safety or cooking flow. By planning this right from the outset, you’ll avoid bottlenecks in the hot zone.
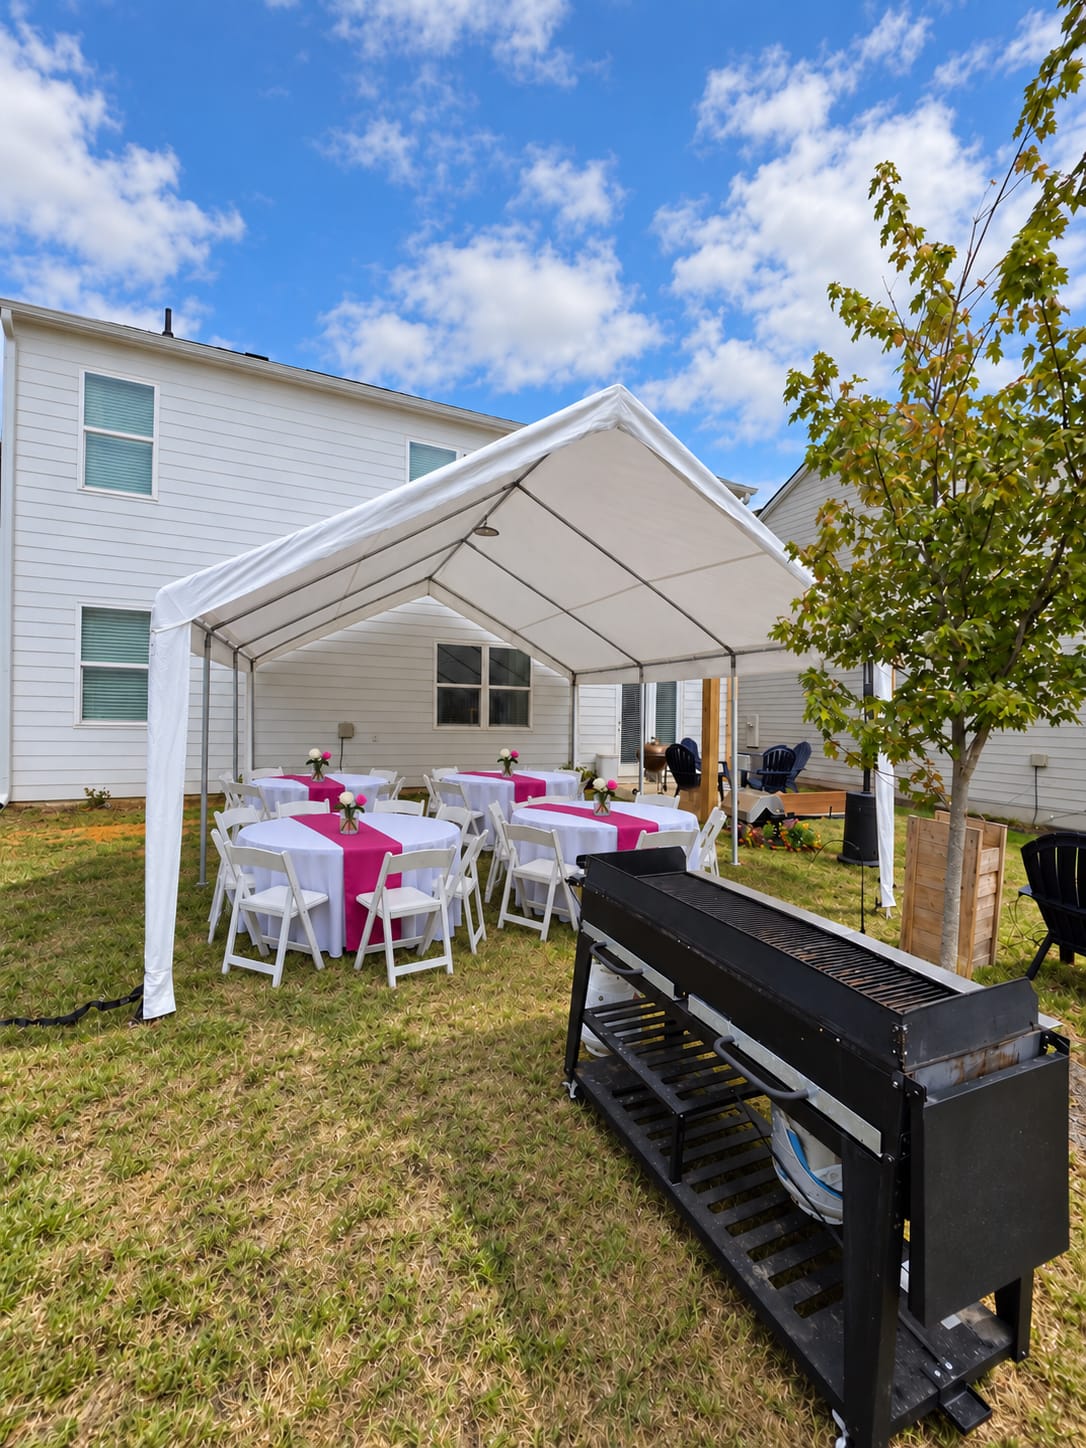
Planning Your Kitchen Space Inside the Tent
Inside the tent, designate zones by function: prep, cooking, plating, and storage. Start with a 4‑foot x 4‑foot prep counter that sits on a portable folding table or a ready‑made tiki‑bar stand. This counter serves as a rolling island where you can chop, season, and assemble platters. Position it a few feet away from the cooking unit to keep heat away from guests. For plating and plating supplies, use a second tomato‑table that can be wheeled around as needed. Keep a sturdy butcher block for chopping and a nearby grease‑trapped drainer for drips. Any food processing should take place in clean, dedicated areas to prevent cross‑contamination with seating zones.
Safety comes first; place the prep counter and grill at a minimum of 5‑feet from any open flame or electric burner. Install a metal gas outlet capped with a heat‑resistant cover and use a catalytic carbon filter if ventilating indoors. Organize cutting boards and spice racks on the same counter to eliminate the need for multiple trips outside the kitchen area. When everything is in its place, the crew can move swiftly from sourcing to plating, and the guests can revel in a seamless, visually engaging culinary flow.
Essential Portables: Stovetop, Oven, and Refrigeration Units
The backbone of your kitchen is a portable propane or electric range. For Jefferson’s climate, a 3‑burner propane range fits most kitchen rituals—roasting, simmering, and boiling—while keeping the unit compact enough to rotate around the tent. Attach a heavy‑duty countertop to hold the stove, and position it near an insulated or low‑temperature zone to reduce heat intrusion. If you plan to bake, complement the range with a portable 14‑inch electric oven that delivers reliable temperatures for cookies or breads. The oven should be placed on a stable cart, ensuring it’s secure during windy conditions.
Refrigeration is non‑negotiable for any event that serves food. Bring in a 20‑foot refrigerated trailer or a high‑capacity cooler kept in a shaded corner of the tent. In case of power outages, a propane‑powered compressor keeps the cold chain intact. Keep the fridge at a 120‑volt outlet or one of the tent’s-side extension cords rated for 15 A. Standard practice places the fridge behind the kitchen’s prep counter so guests can see the stainless‑steel gleam of ingredients before they’re plated. Add a portable waterfall chute to ease the rinsing of vegetables, which helps reduce mess near the stove.
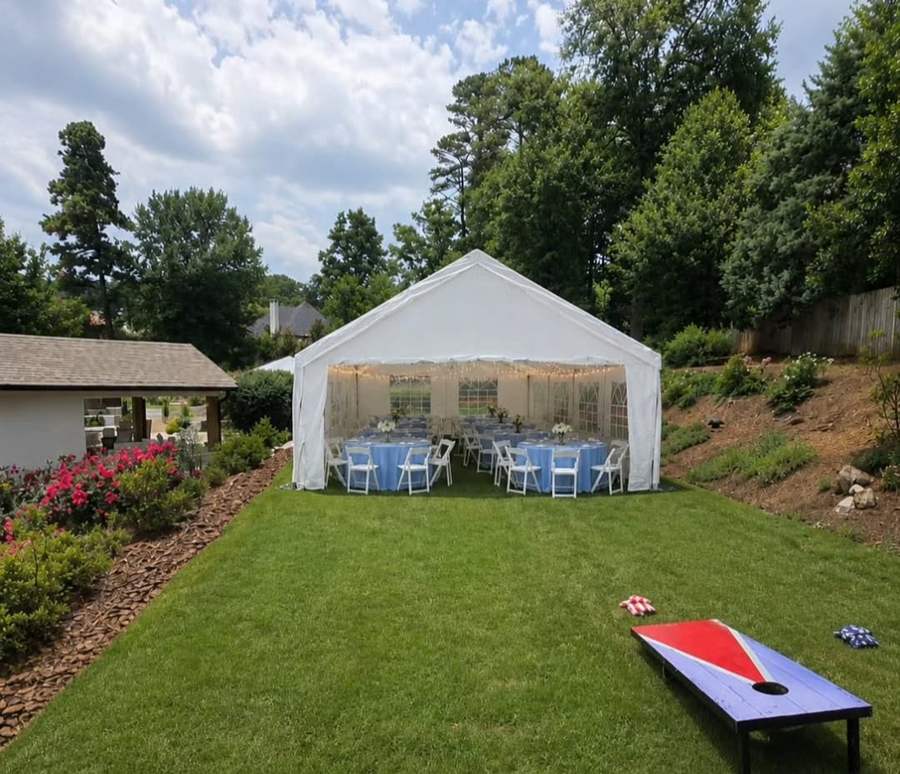
Setting Up Food Prep Zones and Safety Protocols
Before the arrival of guests, ensure all surfaces are clean‑sealed. Use a high‑density polyethylene floor pad under the cooking station to handle grease and water splashes. This ensures the grass remains unsoiled and slip‑proof. Place cutting boards in a circular arrangement, with knives, garlic presses, and pelleting tools marked with bright signage to minimize the risk of accidental injuries. Install a fire extinguisher within 10 feet of any flame, and keep a splash pad nearby to quickly purge any accidental spills.
Food safety codes require a dedicated area for final soaking and plating. Place a stainless‑steel tub containing cold water at the edge of the prep counter. This water will serve as a quick rinse for vegetables, a means to cool pie crusts, and a spillage containment area. A wall‑mounted drying rack keeps fabric from soaking into the ground. The plating desk should have a spotless cedar tabletop; its smooth surface ensures knives stay ergonomic while diners view the fresh garnishes. Execute a quick rehearsal with your crew once a week before the event, so everyone is fluent in moving the food from grill to plating without crowding.
Powering Your Portable Kitchen: Electrical Needs and Generator Tips
Propane units cut down on electricity, but your refrigerators, ovens, and electric lighting still need a reliable supply. In Jefferson’s area, a 7 kW gasoline generator with a double‑fuel option is a smart contingency. Install the generator 8 feet away from the tent, and run a 14‑gauge extension to a 120‑V outlet inside the cooking area. The generator’s low‑sway design makes it stable on uneven ground, while a gentle muffler reduces wind noise during nighttime receptions.
For lighting, a set of LED lanterns and a single fluorescent uplight for the exterior of the tent will create evening ambiance without overloading the generator. Connect an 18‑volt, 5‑amp LED tree lamps to the generator with a jump‑start circuit to cover each outlet’s capacity. If you opt for a rented generator, check for built‑in surge protection—a small detail that ensures the cooking equipment doesn’t trip a breaker during the hottest part of the day. Keep hose connectors sealed by annotated plugs to keep wind from generating noise in the event’s quiet hour.
Weather Preparedness: Rain Plan and Indoor Backup Ideas
Jefferson’s spring rains can create sudden caution. Prepare by securing sidewalls to guard the cooking zone. Attach metal sheeting or sturdy canvas to each sidewall, making sure the window vents remain open for airflow. A grilled gas stove can swamp the air, so a vented tent is necessary; place a fan on a tripod with a weather‑proof base to circulate heat. In case of sudden flooding, keep the cooking station elevated on a 2‑foot rim of sand to prevent water ingress into the propane line. The power generator should also be placed on a debris‑free platform to avoid pooling.
If the forecast predicts heavy downpours, pre‑alert your guests of a contingency plan: a ction of temporary picnic tents on the back. Attach a portable restroom and hand sanitizing station in the adjacent yard using a temporary storage unit. Include signage that indicates a shift to the backup location if the primary tent’s sidewalls get saturated. For those events that extend into the evening, a reliable fan will maintain inside breaths and keep everyone comfortable. Remember, guests’ll appreciate transparency and a smooth shift of plan—explain the scenario, thank them for patience, and replay the joy of the celebration.
Final Checklist and Timeline for a Smooth Backyard Event
Five days before the event, visit the Jefferson backyard to place stakes, import the tent, and test the generator’s power surge. Mark all electrical outlets with a traffic‑light system: red for the cooking station, green for the refrigeration unit, and yellow for all guests’ seating zones. Secure the tent frame with proper anchor bolts and check that the wind direction runs parallel to the sidewalls. On the event day, arrive at least eight hours early to lay out the tent, test all propane lines, and stage the kitchen setup. Pair technicians with a cleaning crew so that the gas burners stay lit, the ice backs of the fridge remain solid, and the overall kitchen stations remain pristine. Once the last guest enters, walk through each zone, ensuring everyone knows the kitchen layout and safety procedures.
After the event, tidy the kitchen area by disconnecting the generator, storing all portable equipment in a cool, dry place large enough for the props. Collect all used linens, trash, and water‑filled tubs into a container—no left‑over smell should linger. Finally, capture a short recap of the arrangements in a 45‑minute reel, scheduled with the resident photography/film crew. Their post‑event footage can be used for feedback, future marketing, or simply to celebrate the joy of a well‑orchestrated backyard feast. Using these steps and a 20×20 tent foundation makes any Jefferson tent event a memorable, kitchen‑centered celebration enjoyed by all.