
Planning a celebration in Jefferson, Jackson County means working with a venue that is often just a short drive from our Pendergrass warehouse—about ten minutes away via local roads that pass landmarks such as backyards off Old Pendergrass Road, the Traditions of Braselton community, and the neighborhoods surrounding Jefferson High School. When you envision a lively dance floor under a tent, the first step is to think about how the space will serve your guests while keeping the event flowing smoothly. A well‑considered tent dance floor layout balances guest count, furniture placement, and clear pathways so everyone can move comfortably from the dining area to the dance zone and back again.
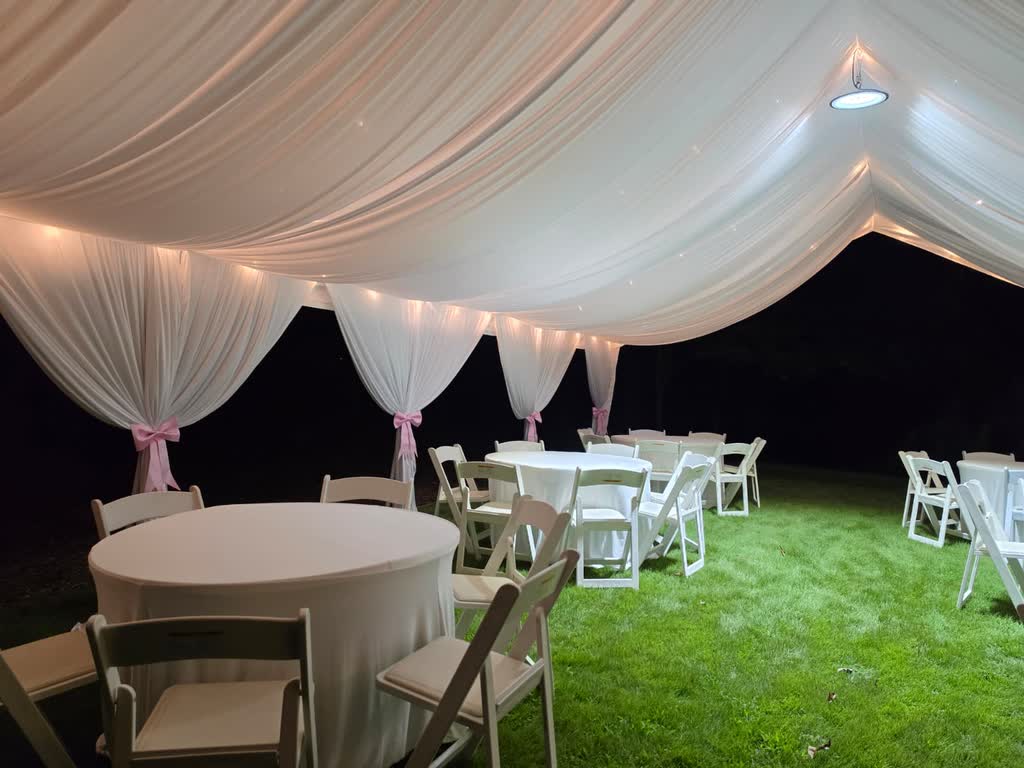
Understanding Your Space and Guest Count
Begin by measuring the usable area of your backyard. Most residential lots in Jefferson provide a flat grass surface that can accommodate a tent and a dance floor without major grading. Sketch a simple rectangle that represents the tent footprint, then subtract the space needed for tables, chairs, buffet stations, and any extra features such as a bounce house or photo booth. The remaining open area becomes the candidate zone for your dance floor. Remember that the dance floor does not need to be a perfect square; it can be a rectangle that flows naturally with the tent’s interior lines.
Next, translate your guest count into a realistic dance‑floor size. A general rule of thumb is to allow about four to five square feet per dancer when the floor is actively used. For example, if you expect 80 guests and anticipate that roughly half will be on the floor at peak moments, you would target a dance floor of approximately 160 to 200 square feet. This translates to a space roughly 12 feet by 14 feet or 10 feet by 20 feet, depending on the shape of your tent. Adjust the numbers up or down based on the style of music and the age mix of your attendees.
Creating a Functional Tent Dance Floor Layout
The phrase “tent dance floor layout” captures the core of this planning stage: arranging the interior of the tent so that the dance area is clearly defined yet integrated with other functions. Start by placing the largest structural elements—such as the central support poles or any perimeter sidewalls—then map out where the dance floor will sit. Ideally, the dance floor should be centered or slightly offset toward one side of the tent to leave room for a buffet table, a bar, or a seating lounge on the opposite edge. This arrangement creates a natural traffic loop: guests flow from the entrance to the dining area, then to the dance floor, and back out without crossing paths.
Consider the height of the tent ceiling when choosing flooring options. Most of our COBIZI commercial tents provide a clear interior height of at least eight feet, which is sufficient for a raised dance platform if you desire one. If you prefer to keep the floor at ground level, simply lay interlocking dance‑floor tiles or a portable wood‑like surface directly on the grass after placing a protective ground tarp. The tarp prevents moisture from seeping up and protects the grass, while the tiles give a smooth, stable surface for shoes and bare feet alike.
Preparing the Yard: Ground Surface and Anchoring
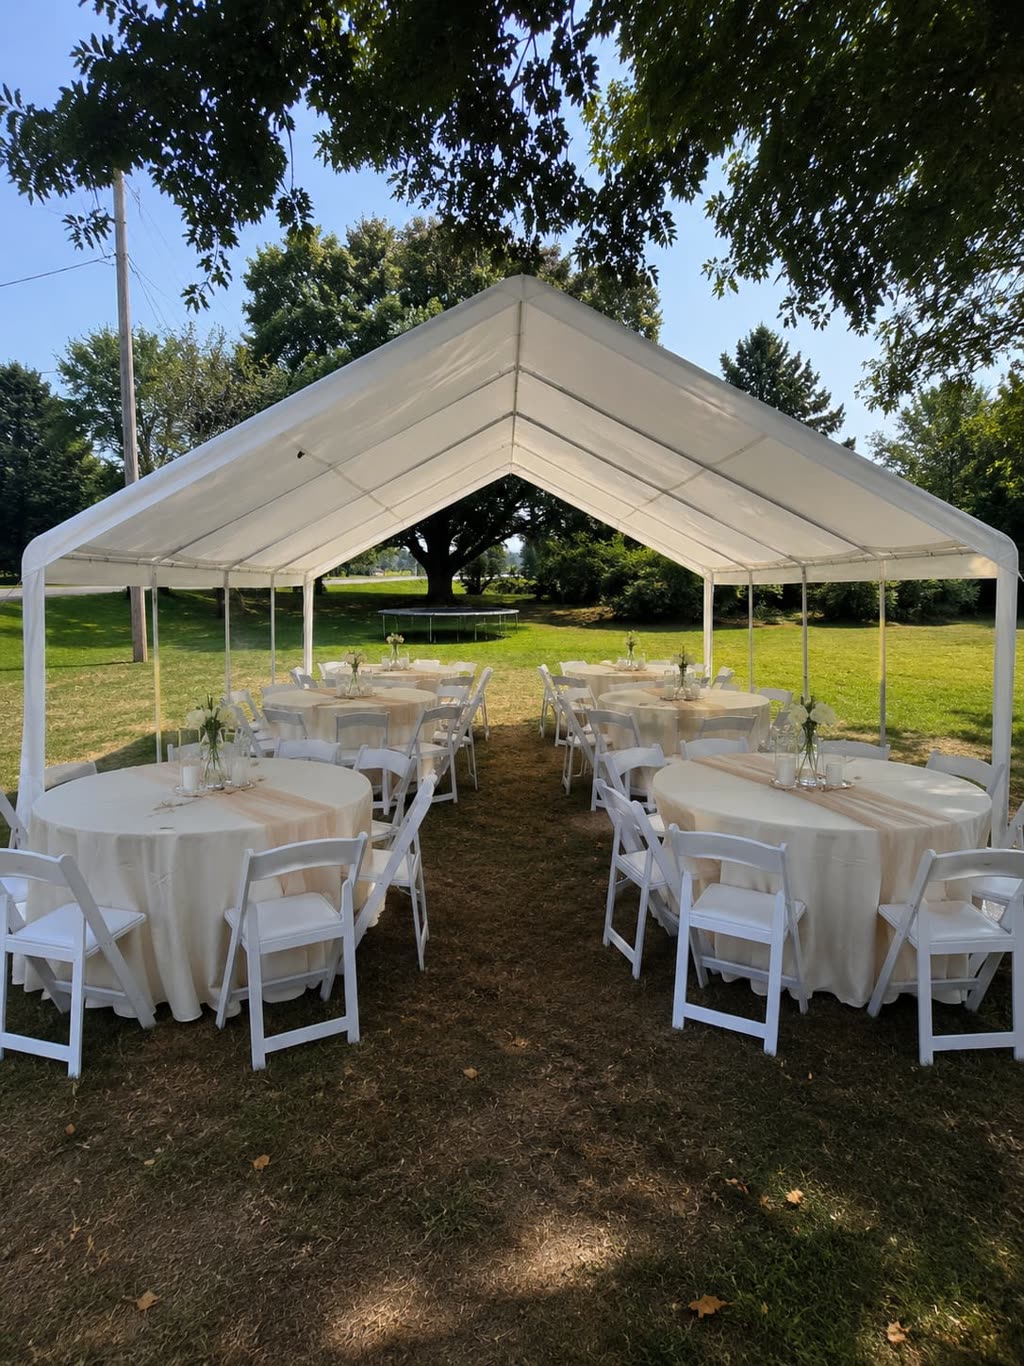
In Jefferson, many homes feature lawns that are a mix of Bermuda grass and fescue, both of which handle light foot traffic well. Before the tent arrives, walk the proposed site and remove any sticks, rocks, or debris that could puncture the tent floor or create tripping hazards. If the ground is unusually soft after recent rain, you can lay down a layer of compacted gravel or sand‑mix under the tarp to improve stability. This step is especially useful for larger tents that will bear significant weight from tables, chairs, and equipment.
Anchoring is critical for safety and for maintaining the integrity of your tent dance floor layout. Our installation team uses steel stakes and ratchet straps designed for grass installations, ensuring the tent remains taut even when a gentle breeze picks up. For concrete patios or driveways, we switch to weighted base plates that sit flush with the surface. Be sure to communicate any underground utilities or irrigation lines you know about so the crew can avoid them during stake placement.
Timeline: From Booking to Setup
Start the planning process at least four to six weeks before your event date, especially if you are targeting a popular weekend in the spring or fall when demand for tents and bounce houses is high. The first step is to confirm your event address, including street, city, state, and ZIP code, so we can verify that Jefferson falls within our 40‑mile service radius and calculate the exact mileage for delivery. Once the address is locked in, we will discuss tent size, dance‑floor dimensions, and any additional items such as lighting, draping, or a taquiza catering station.
Two weeks prior to the celebration, we finalize the guest count and lock in the layout plan. This is when we confirm the number of tables, chairs, linens, and any specialty rentals like cocktail tables or a portable sound system. The week before the event, our crew performs a site visit to measure the yard, verify anchor points, and review the placement of the dance floor relative to other zones. On the day of the event, arrival typically begins early in the morning—around 8:00 AM—to allow ample time for tent erection, ground‑tarp installation, dance‑floor surface layout, and final styling touches before guests arrive.
Rain Plan and Weather Considerations
Outdoor celebrations in Northeast Georgia can shift quickly from sunshine to showers, especially during the summer months. Our standard rain plan incorporates sidewalls that can be zipped up to create a sealed barrier against wind and precipitation. If you anticipate a chance of rain, we recommend ordering sidewalls for at least two sides of the tent; this configuration helps keep the interior dry while still allowing ventilation. The sidewalls attach securely to the tent frame and can be deployed within minutes should the weather change.
In addition to sidewalls, we keep an eye on wind forecasts. If sustained winds are expected to exceed 15 mph, we may advise postponing the setup to a safer time or adding extra ground anchors for increased stability. Our team monitors real‑time conditions and will communicate any adjustments well before the scheduled start time. Should the weather make the setup unsafe, we work with you to reschedule the event to another date that still falls within your preferred window, preserving your guest count and vendor arrangements.
Lighting and Ambiance for the Dance Floor
Proper lighting transforms a functional dance floor into a memorable focal point. For evening events, we offer LED tent lighting that runs along the interior perimeter of the tent canopy, providing even illumination without harsh glare. This type of lighting is ideal for highlighting the dance floor surface and ensuring that guests can see each other clearly while moving to the music. Because the LED strips are low‑profile, they do not interfere with hanging décor such as chandeliers or paper lanterns.
If your celebration takes place during daylight hours, we often suggest relying on natural light complemented by decorative elements like paper lanterns, garlands, or uplighting placed around the perimeter of the tent. These items add color and texture without competing with the bright sun. For a transition from day to night, we can schedule the LED lighting to fade in as the sun sets, creating a seamless shift that keeps the energy on the dance floor consistent throughout the event.
Final Checklist and Coordination with Vendors
Before the guests arrive, walk through the completed setup with a quick checklist: verify that the tent is firmly anchored, the dance‑floor surface is smooth and free of wrinkles, all tables and chairs are in their designated spots, and any audio equipment is positioned for optimal sound coverage. Confirm that the power cords for lighting, sound, and any bounce‑house blowers are safely routed away from high‑traffic areas and protected with cord covers if they cross grass.
Finally, ensure that the driveway or street access is clear for our delivery truck and any vendor vehicles. In Jefferson, the typical route from our Pendergrass warehouse involves taking GA‑332 north, then merging onto Old Pendergrass Road toward the western side of town. This drive takes roughly ten minutes under normal conditions, allowing us to arrive early, set up efficiently, and depart promptly after the celebration ends. By coordinating arrival times with your caterer, entertainer, and any other rentals, you create a smooth flow that lets everyone focus on enjoying the day.
[[/HTML]]Frequently asked questions
How far in advance should I book the tent and dance‑floor setup?
It is best to start the planning process four to six weeks before your event date, especially for popular weekend dates in spring or fall, to secure the tent size and layout you want.
What information do I need to provide for the address verification?
You must give the full street address, city, state, and five‑digit ZIP code so we can confirm that Jefferson, Jackson County lies within our 40‑mile service radius and calculate the exact delivery mileage.
Can I set up the dance floor on a sloped backyard?
A relatively flat surface is recommended; if there is a gentle slope, we can use leveling shims or a compacted base under the tarp to create a stable floor for the dance area.
What happens if the weather turns bad on the day of the event?
We have a rain plan that includes sidewalls for wind and precipitation protection, and we can reschedule the setup to a safer time if conditions become unsafe for installation.
Do I need to provide a power source for the lighting and sound equipment?
Yes, we will need access to a grounded exterior outlet within reach of the tent; if one is not available, we can discuss using a generator to power the LED lights and sound system.
Is it possible to move the dance floor after the tent is up?
The dance‑floor surface is designed to stay in place once installed; moving it after anchoring could damage the tarp or the interlocking tiles, so we recommend finalizing the layout before the crew begins setup.