
Why a Thoughtful Tent Layout Matters for Graduation
A well‑planned tent layout creates a smooth flow for guests, keeps the ceremony area visible, and provides comfortable seating for families and friends. In Jefferson, Jackson County, many graduation celebrations take place in backyards off Old Pendergrass Road or in the neighborhoods surrounding Jefferson High School. By mapping out the space before the event, you avoid last‑minute crowding and ensure that every attendee has a clear view of the stage and a place to relax.
When you start with a clear tent layout, you can coordinate other rentals—tables, chairs, linens, lighting, and bounce houses—more efficiently. The layout also helps the delivery team know exactly where to place each item, reducing setup time and the risk of obstacles. A thoughtful plan contributes to a stress‑free day for the host and a memorable experience for the graduate.
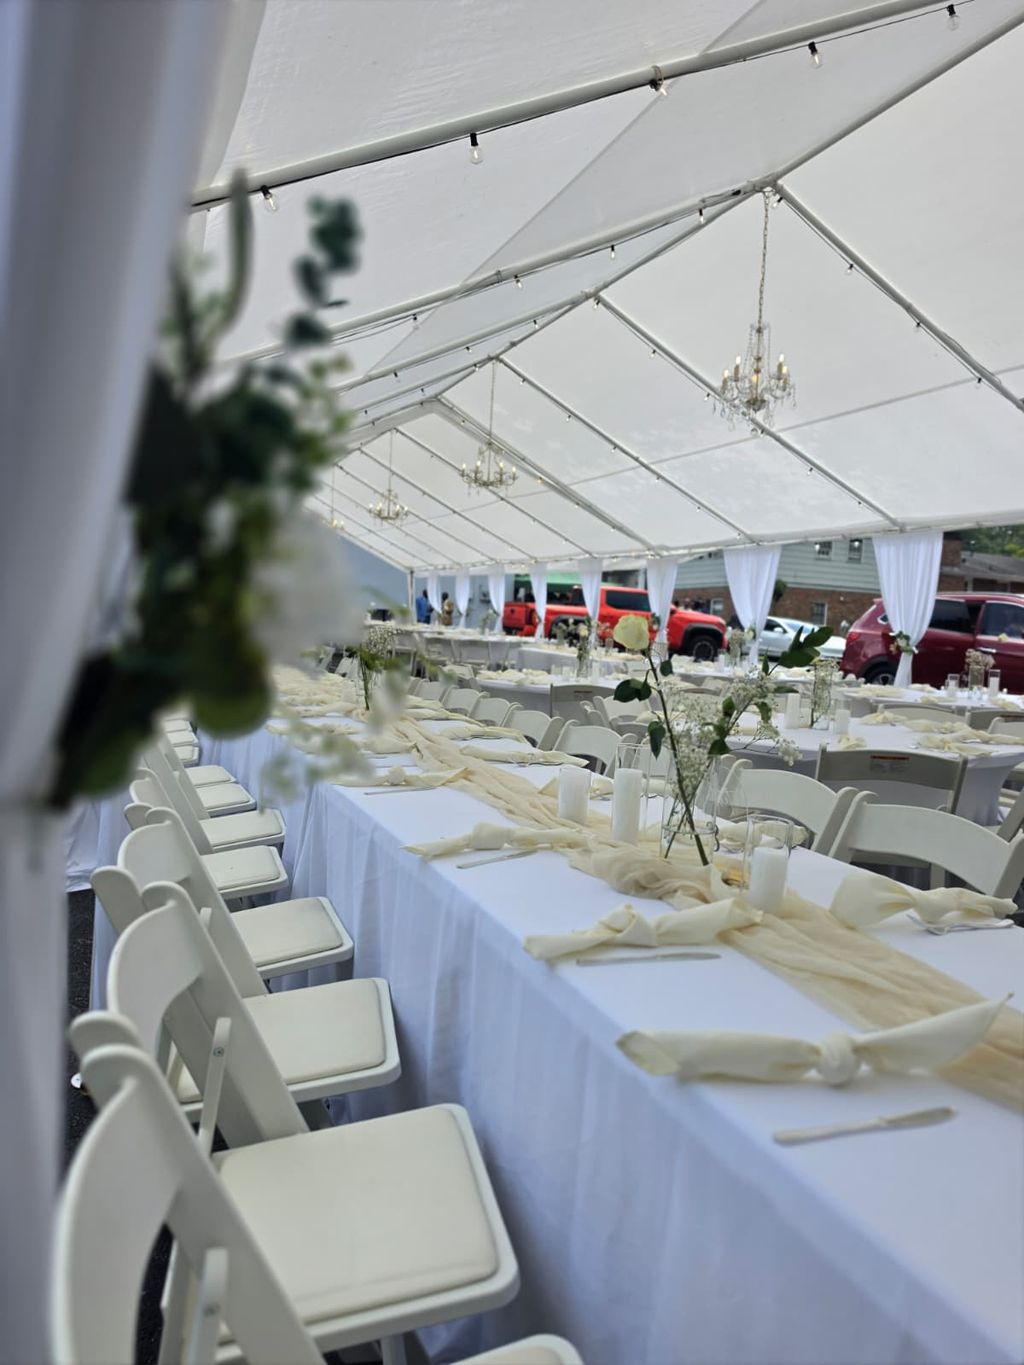
Assessing Your Space: Guest Count and Yard Dimensions
Begin by confirming the exact number of guests you expect. This number drives every decision about tent size, table quantity, and seating arrangement. For a graduation ceremony, a typical range might be 80 to 150 guests, depending on the size of the graduating class and invited family members. Use the guest count to calculate how many 6‑foot round tables (seating 10 comfortably) or 8‑foot rectangular tables (seating 8‑10) you will need, and remember to leave aisle space for easy movement.
Next, measure the usable area of your backyard. In Jefferson, many properties feature level lawns that are ideal for tent installation, but you should still check for low spots, tree roots, or irrigation heads. Verify that the ground can support the tent’s weight and that there is a clear path for the delivery truck from Pendergrass, which is roughly a ten‑minute drive via GA‑332 and Old Pendergrass Road. Mark the corners of the intended tent footprint with spray paint or stakes to visualize the layout before the crew arrives.
Choosing the Right Tent Size for Your Guest Count
Select a tent that matches your calculated seating needs while allowing room for a stage, dance floor, or buffet area if desired. According to verified capacities, a 20 × 30‑foot tent seats 48‑60 guests comfortably, a 20 × 40‑foot tent seats 64‑80 guests, and a 30 × 60‑foot tent accommodates 120‑150 seated guests or up to 180 in a cocktail‑style layout. If your guest list falls between these ranges, consider a two‑tent configuration—such as a 20 × 40 paired with a 10 × 20 for a buffet or lounge zone—to stay within the structural limits of the frames.
Remember that the tent must be anchored securely, whether the surface is grass or concrete. The installation team uses appropriate stakes or weights based on the site check, ensuring stability even with a gentle breeze. Avoid placing the tent over underground utilities; a quick call to the local utility locate service can confirm safety. Once the tent is positioned, you can begin arranging the interior elements according to your layout plan.
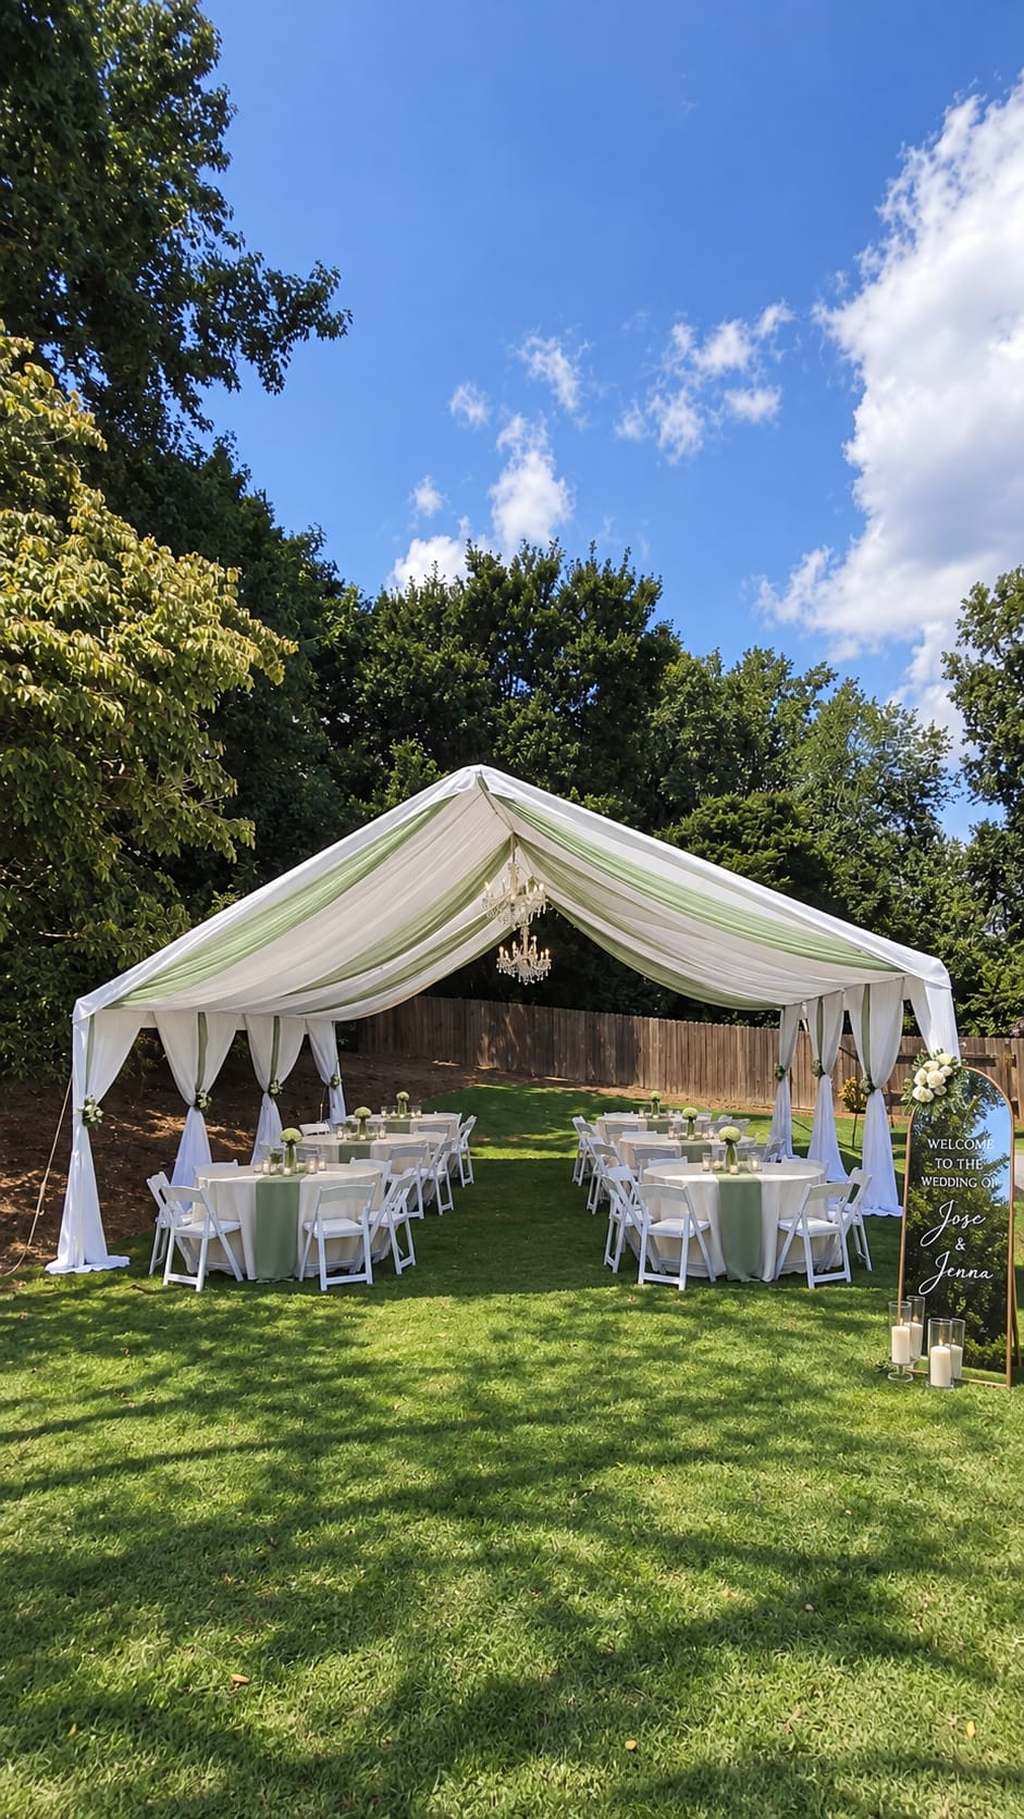
Positioning Tables, Seating, and Flow
Start by placing the ceremony stage or podium at one end of the tent, leaving a clear aisle that runs the length of the space for the graduate’s walk and for guests to exit after the ceremony. Arrange rows of seating facing the stage, using a mix of round and rectangular tables to create visual interest. For example, a central block of 6‑foot round tables can host family groups, while rectangular tables along the sides can accommodate larger parties or serve as a buffet line.
Maintain at least three feet of walking space between table rows and between tables and the tent walls. This width allows guests to move comfortably, especially when carrying plates or programs. If you plan to include a dance floor after the ceremony, position it opposite the stage, leaving a buffer zone for chairs to be pushed aside. Use cocktail tables (30‑inch Flash Furniture) near the entrance or buffet area for guests who prefer to stand and mingle.
Adding Staging, Audio, and Visual Elements
The graduation ceremony benefits from a modest stage that elevates the speaker and provides a backdrop for photos. A simple platform measuring 8 × 12 feet works well for a speaker podium, a small sound system, and a backdrop for the school logo or class year. Position the stage so that the speaker faces the majority of the seated audience, and ensure that the sound system’s speakers are angled to cover the tent evenly without creating hot spots.
Lighting enhances the atmosphere, especially if the ceremony runs into the early evening. LED tent lighting provides even illumination across the entire canopy, while bistro strings can be draped above the dining or lounge area for a warm glow. Avoid placing lighting fixtures directly over the dance floor if you plan to use moving lights; instead, install uplighting on the tent poles to wash the walls with color. Confirm that all electrical cords are secured and routed away from walkways to prevent tripping hazards.
Planning for Weather and Guest Comfort
Even in North Georgia, afternoon showers can develop quickly, so a rain plan is essential. Sidewalls attach securely to the tent frame and can be deployed on short notice to keep the interior dry. For added comfort on warm days, industrial fans positioned near the tent walls circulate air without creating a direct blast on guests. If the forecast calls for cooler temperatures, consider offering light shawls or having a small portable heater available, following all safety guidelines for outdoor use.
Communicate the rain plan to your guests in the invitation or on a sign‑in sheet, letting them know that sidewalls will be added if needed and that the ceremony will proceed unless conditions become unsafe. Keep the delivery team’s contact information handy so they can bring sidewalls quickly if the weather changes. A clear plan reduces anxiety and shows that you have thought ahead for the graduate’s special day.
Final Walkthrough, Timeline, and Coordination
On the day before the event, walk the site with the delivery lead to verify that the tent footprint matches your marked layout, that all stakes or weights are in place, and that the ground is free of debris. Confirm the exact location of the power source for lighting and sound; if a generator is required, ensure it is positioned with adequate ventilation and noise clearance. Review the timeline: delivery typically begins two hours before the scheduled start, allowing time for tent erection, table placement, and decor installation.
After the ceremony, allocate at least ninety minutes for breakdown, depending on the size of the tent and the number of rentals. The crew will first remove sidewalls, then collapse the frame, and finally load tables, chairs, and other items onto the truck. Provide a point of contact—yourself or a trusted family member—who can answer any last‑minute questions and ensure that the property is left clean and tidy. With a solid layout plan and clear communication, your graduation celebration in Jefferson will flow smoothly from start to finish.
Guest‑Count Math
To determine the tent size you need, start with your expected guest count. Divide that number by 10 to estimate how many 6‑foot round tables are required for comfortable seating, remembering that each table seats up to 10 guests. If you prefer rectangular tables, divide the guest count by 9 (the midpoint of 8‑10) to get a rough table quantity. Always add a few extra tables for unexpected guests or for a buffet line, and keep aisles at least three feet wide for easy movement.
Yard Preparation
Before the crew arrives, clear the installation area of toys, garden tools, and any loose debris. Level any noticeable dips by filling with soil or sand, and mark underground sprinkler heads to avoid damage. If your yard has a slope, note the direction of the incline so the team can adjust stake placement for stability. Finally, ensure there is a nearby grounded outlet for lighting and sound equipment, or plan for a generator if needed.
Load‑In Timeline
The delivery truck typically arrives from Pendergrass about two hours before the event start time. First, the crew unloads the tent components and lays out the frame. Next, they erect the tent, secure it with stakes or weights, and attach any sidewalls if requested. After the tent is up, tables, chairs, linens, and decor are placed according to your layout plan. Lighting and sound systems are installed last, followed by a quick walkthrough to confirm everything is in position.
Rain Plan Details
Sidewalls are the primary defense against sudden showers; they zip onto the tent frame and can be deployed in under ten minutes. For added protection, consider a waterproof ground tarp underneath the tent floor if the site is prone to pooling. Keep an extra set of sidewall clips and straps on hand in case of wind. If the forecast predicts prolonged rain, discuss with the team the possibility of rescheduling or moving the event to a covered area.
Local Logistics
Pendergrass is roughly ten minutes from Jefferson via GA‑332 and Old Pendergrass Road, which helps keep delivery fees low for most local jobs. Verify that the delivery vehicle can access your street; narrow lanes or low‑hanging branches may require a smaller truck or a shuttle from a nearby parking spot. Confirm any neighborhood HOA rules about temporary structures, noise, or parking to avoid surprises on the day of the event.
Checklist for Graduation Day
- Confirm guest count and finalize tent size
- Mark yard layout with spray paint or stakes
- Verify underground utilities and drainage
- Ensure clear access for delivery truck
- Arrange power source or generator for lighting/sound
- Review rain plan and have sidewalls ready
- Assign a point of contact for the crew
- Perform a final walkthrough before guest arrival
- Plan for post‑event cleanup and equipment breakdown
Frequently asked questions
What is the first step in designing a tent layout for a graduation ceremony in Jefferson?
Begin by confirming the exact guest count and measuring the usable backyard area, noting any slopes, tree roots, or utility lines that could affect tent placement.
How do I decide which tent size to use for my guest list?
Use verified capacities: a 20×30 fits 48‑60 seated guests, a 20×40 fits 64‑80, and a 30×60 holds 120‑150 seated or up to 180 cocktail‑style; combine tents if needed to stay within frame limits.
Where should the ceremony stage be placed inside the tent?
Position the stage at one end of the tent with a clear aisle facing the majority of seated guests, allowing space for the graduate’s walk and for guests to exit comfortably.
What seating arrangement works best for a graduation ceremony inside a tent?
Arrange rows of round or rectangular tables facing the stage, leave at least three feet of walking space between rows, and consider cocktail tables for a standing buffet or lounge area.
How can I prepare for unexpected rain during the event?
Have sidewalls ready to attach to the tent frame, and inform guests that they will be deployed if needed; keep the delivery team’s contact information for a quick response.
What timeline should I follow for delivery and setup on the day of the ceremony?
Schedule delivery to start about two hours before the ceremony begins, allowing time for tent erection, table placement, decor, and a final walkthrough with the crew.