
Understanding the Importance of Tent Drainage Solutions
When planning an outdoor event in Jefferson, Jackson County, the first step is recognizing that water can quickly turn a celebration into a soggy mess. Effective tent drainage solutions protect not only the structure but also the guest experience, ensuring that floors stay dry, equipment remains safe, and the atmosphere stays enjoyable. In a region where sudden summer showers are common, anticipating water flow and managing runoff is essential for any host who wants a smooth event.
Beyond comfort, proper drainage safeguards your investment in rentals such as tables, chairs, linens, and lighting. Water accumulation can lead to mold, mildew, and damage to fabric or electronic gear. By implementing a clear drainage strategy from the outset, you reduce the risk of costly last‑minute fixes and help the event run on schedule, allowing you to focus on entertainment, food, and memories rather than mopping up puddles.
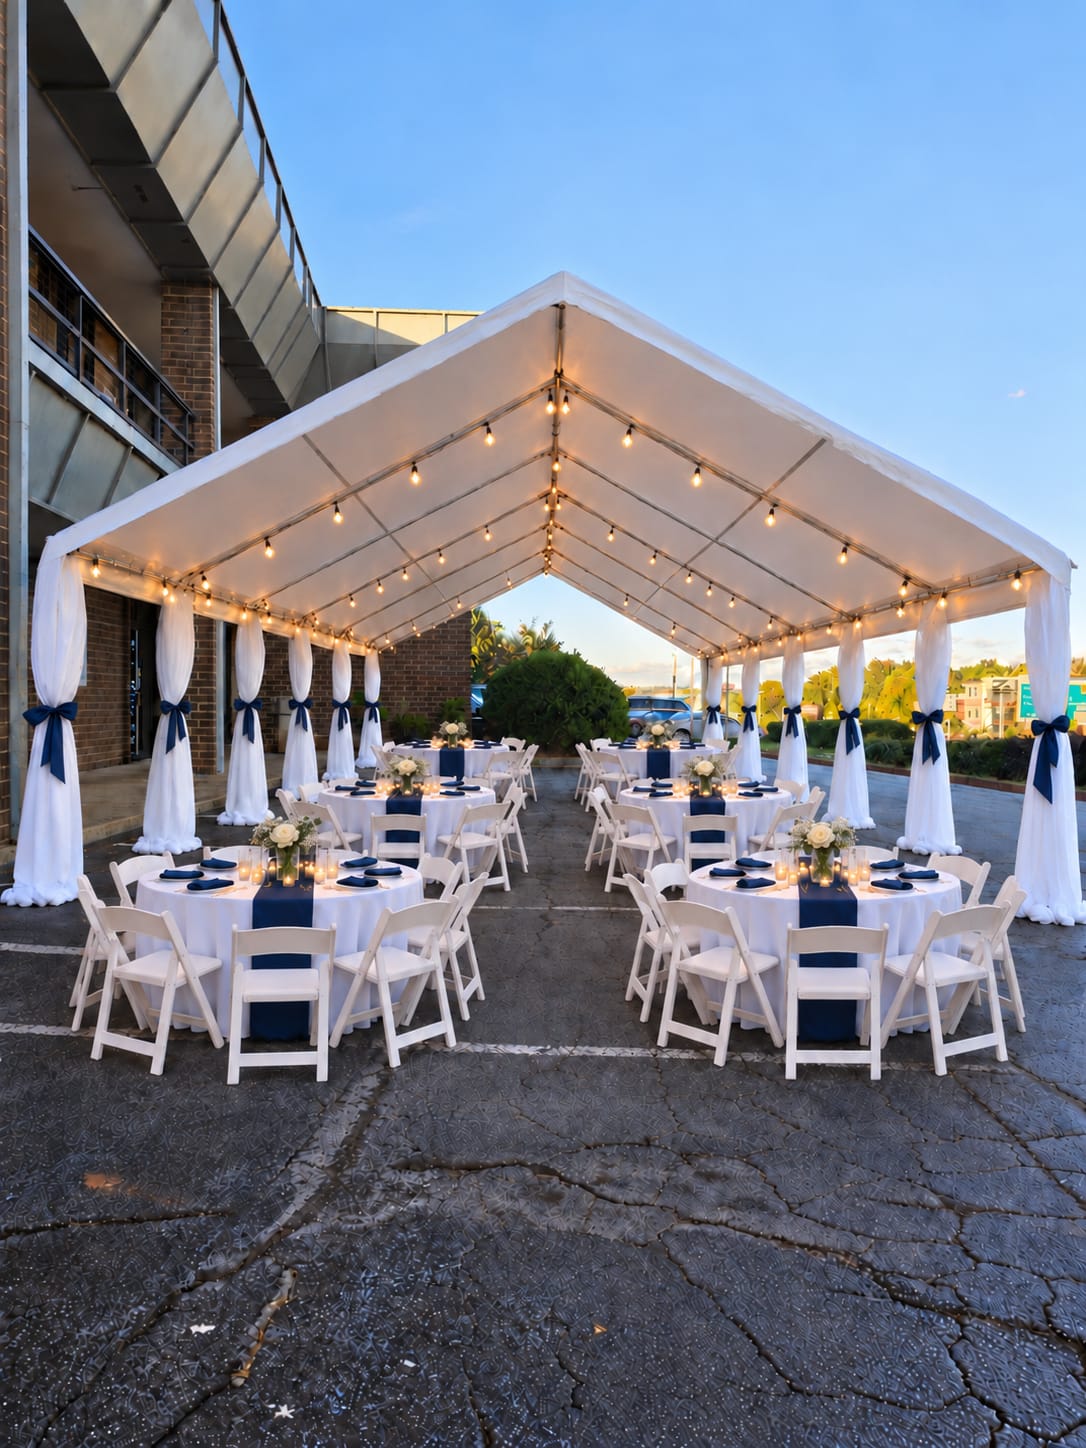
Assessing Your Jefferson Backyard Site
Start by walking the proposed event area and noting the natural slope, soil type, and any existing drainage features. In Jefferson, many backyards off Old Pendergrass Road have a gentle incline toward the street, which can be advantageous if you position the tent so water flows away from the entrance. Take note of low spots where water tends to collect after rain, as these will need special attention.
Measure the space to determine guest count and layout. For example, a 20×30 foot tent comfortably seats 48‑60 guests, leaving room for a dance floor or buffet. Sketch a simple plan that marks the tent perimeter, entry points, and any nearby landscaping features such as flower beds or trees. This initial assessment informs decisions about grading, gutter placement, and where to install temporary drains.
Choosing the Right Tent and Ground Preparation
Select a tent model that matches your guest count and includes options for sidewalls and flooring. The COBIZI commercial tents offered by DecoEvent ATL come with galvanized frames and waterproof covers, but they still need a prepared base to prevent water pooling underneath. For grass yards, use proper anchoring kits and ground spikes that do not damage the turf while providing stability.
Before the tent arrives, clear the area of debris, level any high spots, and fill depressions with compacted sand or gravel. A level surface reduces the chance of water collecting under the tent floor. If the soil is heavy clay, consider adding a layer of coarse sand to improve permeability. These preparations create a foundation that works with your drainage plan rather than against it.
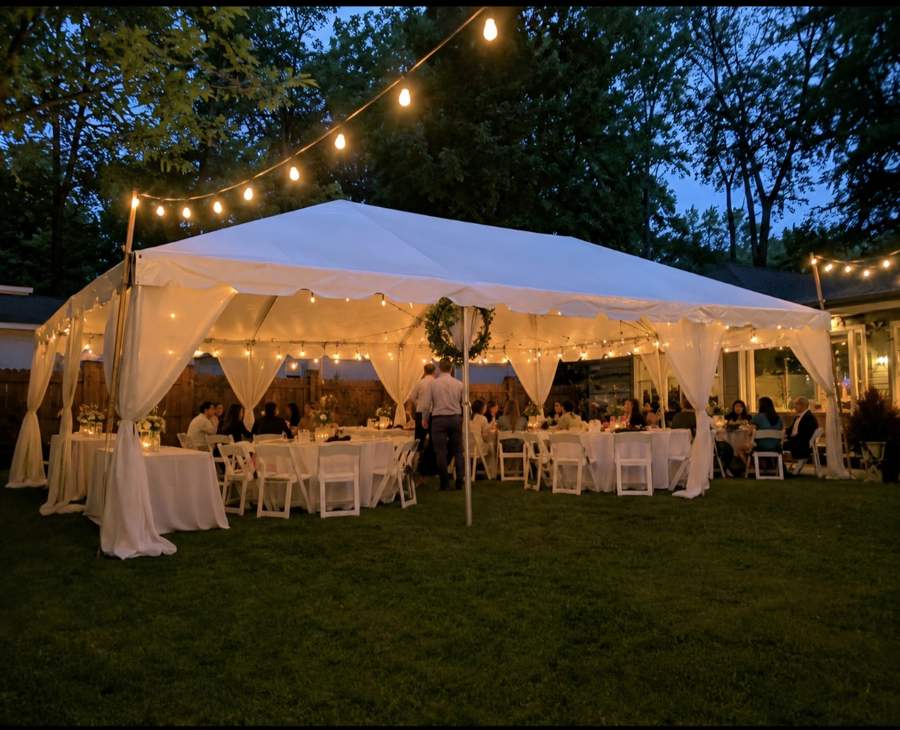
Designing Effective Tent Drainage Solutions
One of the most reliable methods is to create a slight slope away from the tent perimeter. Aim for a gradient of about 1‑2 percent, which translates to a drop of roughly 1‑2 inches over a ten‑foot distance. Use a laser level or a simple string line to verify the slope during site grading. This gentle incline encourages rainwater to flow naturally toward designated drainage zones.
Complement the slope with a perimeter trench filled with gravel and a perforated pipe, commonly known as a French drain. Place the trench just outside the tent edge, cover it with landscape fabric to prevent soil intrusion, and top it with decorative stone if desired. This system captures surface runoff and directs it away from the event space, keeping the interior dry even during heavier downpours.
Using Gutters, Downspouts and French Drains
Many tent models include integrated gutter channels that run along the eaves. Attach downspouts to these channels and extend them at least three feet away from the tent walls, directing water into the French drain or a dry well. Ensure the downspouts are secured with clamps so they do not detach in wind. For larger events, consider adding a second set of downspouts at mid‑points along long sides to handle increased volume.
If the site lacks natural drainage, a dry well—a hole filled with gravel and wrapped in landscape fabric—can safely disperse water into the subsoil. Position the dry well at the low end of the graded area, away from the tent and guest pathways. Test the system by spraying water with a hose before the event to confirm that flow moves away from the tent and does not resurface near the entrance.
Integrating Sidewalls and Flooring for Moisture Control
Sidewalls add a barrier against wind‑driven rain and help keep the interior environment stable. Choose sidewall panels that overlap the tent roof by a few inches to prevent water from seeping in at the seam. Secure the bottom of each sidewall with ground straps or weights to stop lift‑up during gusts. For events expecting prolonged moisture, consider adding a second layer of sidewall on the windward side.
Flooring options such as interlocking plastic tiles or raised wood platforms create a barrier between the ground and the guest area. These surfaces allow water to drain underneath while providing a clean, dry walking surface. When using flooring, ensure that the edges are sealed with waterproof tape or silicone to prevent water from wicking up along the seams. Properly installed flooring works hand‑in‑hand with your drainage design to keep feet dry.
Timeline and Logistics for Setup in Jefferson
Begin site preparation at least two days before the event. Day one focuses on clearing, grading, and installing the French drain or dry well. Day two involves laying any flooring, setting up the tent frame, attaching gutters and downspouts, and raising sidewalls. This staggered approach allows you to test the drainage system with a garden hose and make adjustments before the tent is fully dressed.
Coordinate delivery times with the rental company to avoid traffic congestion on Old Pendergrass Road. The DecoEvent ATL warehouse in Pendergrass is roughly ten minutes from Jefferson, so a morning arrival gives ample daylight for setup. Confirm the exact address, including street number, ZIP code, and any access restrictions such as gates or narrow driveways, to ensure the delivery truck can reach the site without delay.
Rain Plan and Emergency Measures
Even with the best drainage solutions, a sudden thunderstorm can exceed capacity. Have a rain plan that includes ready‑to‑deploy sidewall closures, additional ground anchors, and a backup power source for blower fans if you have bounce houses or water slides. Keep extra sandbags or weighted bags on hand to quickly secure any loosened tent edges.
Communicate the plan to all vendors and key volunteers so everyone knows their role if weather changes. Designate a clear, elevated area for equipment storage that is protected from flooding. After the event, inspect the drainage components for clogs or damage, clean out debris from gutters and downspouts, and store the French drain gravel for future use. This post‑event care extends the life of your drainage system and prepares you for the next celebration.
[[FAQ] What are the first steps to evaluate drainage needs for a Jefferson backyard event? Start by observing the natural slope, noting low spots where water collects, measuring the space for guest count, and marking the tent perimeter and entry points before any setup begins. How can I create a slope that directs water away from my tent? Grade the ground to achieve a 1‑2 percent drop away from the tent, use a laser level or string line to verify the incline, and confirm water flows toward a trench or dry well during a hose test. What materials are recommended for a French drain under a tent perimeter? Use a perforated pipe wrapped in landscape fabric, surround it with clean gravel, and cover the trench with fabric and decorative stone to prevent soil intrusion while allowing water flow. Should I use sidewalls even if the forecast looks clear? Yes, sidewalls protect against wind‑driven rain and provide a barrier that stops water from blowing into the tent, especially when gusts can drive moisture sideways. What flooring options work best with a drainage system? Interlocking plastic tiles or raised wood platforms let water drain underneath while keeping the surface dry; seal edges with waterproof tape to stop wicking. How far in advance should I complete drainage preparations for a Jefferson event? Begin site clearing and grading at least two days prior, install any drains or dry wells, lay flooring, and set up the tent with gutters and downspouts the day before the event. ]]