
Understanding the Challenges of a Sloped Yard
Setting up a tent on uneven ground introduces several practical concerns that differ from a flat lawn. Water naturally runs downhill, which can pool under the tent floor if the site is not properly graded, leading to damp interiors and potential damage to equipment. The slope also affects how guests move through the space, making entry and exit points feel awkward if the tent is not aligned with the natural grade. Addressing these issues early helps create a comfortable environment and protects the integrity of the structure throughout the event.
In Jefferson, Jackson County, many residential properties feature gentle to moderate slopes, especially in neighborhoods off Old Pendergrass Road and around the Traditions of Braselton subdivision. Homes near Jefferson High School often have yards that step down toward the street or toward wooded edges. Recognizing the specific characteristics of your lot allows you to plan a setup that works with the terrain rather than against it, ensuring a safe and visually appealing event space.
Assessing the Slope and Planning the Layout
Begin by measuring the angle of the slope using a simple smartphone level app or a traditional carpenter’s level placed on a long board. Determine the direction of the fall and note any variations across the intended footprint. This information guides where to place the tent’s highest and lowest points, helping you decide whether to orient the length of the tent parallel to the slope or to run it across the incline for better stability.
When planning the layout in Jefferson’s suburban yards, consider existing features such as trees, garden beds, or patio areas that may limit usable space. For example, a backyard off Old Pendergrass Road might have a mature oak near the rear fence, while a property near Traditions of Braselton could include a decorative stone wall. Sketch a rough plan that keeps the tent clear of obstacles, maintains adequate clearance for guylines, and provides level zones for tables, chairs, and any dance floor you wish to include.
Preparing the Ground: Leveling Techniques and Safety Checks
Leveling a sloped site does not always require extensive excavation; often a combination of grading and strategic use of base materials achieves the desired result. Start by removing loose debris, rocks, and vegetation from the area where the tent will sit. Then, spread a layer of coarse sand or crushed stone to create a firm, permeable base that can be compacted with a plate compactor or a hand tamper. This base helps distribute the tent’s weight evenly and reduces shifting.
After laying the base, check the surface in multiple directions with a long level or a laser level to confirm that the plane is within an acceptable tolerance—typically no more than a few degrees of variation. If the slope is steeper, you may need to build up the lower side with additional fill material while gently cutting back the higher side. Always verify that the ground is stable enough to support the tent’s anchor points, and look for any signs of soft soil that could give way under weight or wind pressure.
Choosing the Right Tent Type and Size for Uneven Terrain
Certain tent designs handle slopes better than others. Frame tents with adjustable leg lengths allow you to compensate for height differences by extending or shortening specific poles, keeping the roof line relatively level. Pole‑tension tents that rely on guylines can also be tuned to accommodate uneven ground, provided the anchoring system is flexible enough to adapt to varying angles.
For events in Jefferson, Jackson County, a 20 × 30‑foot frame tent often works well for medium‑sized gatherings, offering flexibility to adjust leg lengths on each corner. If you anticipate a larger guest list, consider a 20 × 40‑foot unit paired with a smaller 10 × 20‑foot section for a buffet or lounge area, which lets you place the larger footprint on the more level portion of the yard while using the smaller tent on a steeper section for supplementary space.
Setting Up the Tent: Anchoring, Guylines, and Wind Protection
Proper anchoring is critical when the tent sits on a slope because the force of wind can create uneven uplift on the higher side. Use heavy‑duty steel stakes or augers designed for soft soil, driving them deep enough to reach stable sub‑soil. On the uphill side, angle the stakes slightly downward to resist the pull of the tent trying to slide downhill; on the downhill side, place stakes more vertically to counteract upward lift.
Guylines should be attached to the tent’s reinforced corners and routed to ground anchors that are positioned to counteract the direction of the slope. Tension each guyline evenly, using a ratchet or a turnbuckle to maintain consistent pressure. In Jefferson’s open yards, where breezes can pick up especially in the late afternoon, consider adding extra wind braces or sandbags on the lower side for additional stability without compromising the aesthetic.
Styling the Space: Decor, Lighting, and Flooring Options for a Sloped Site
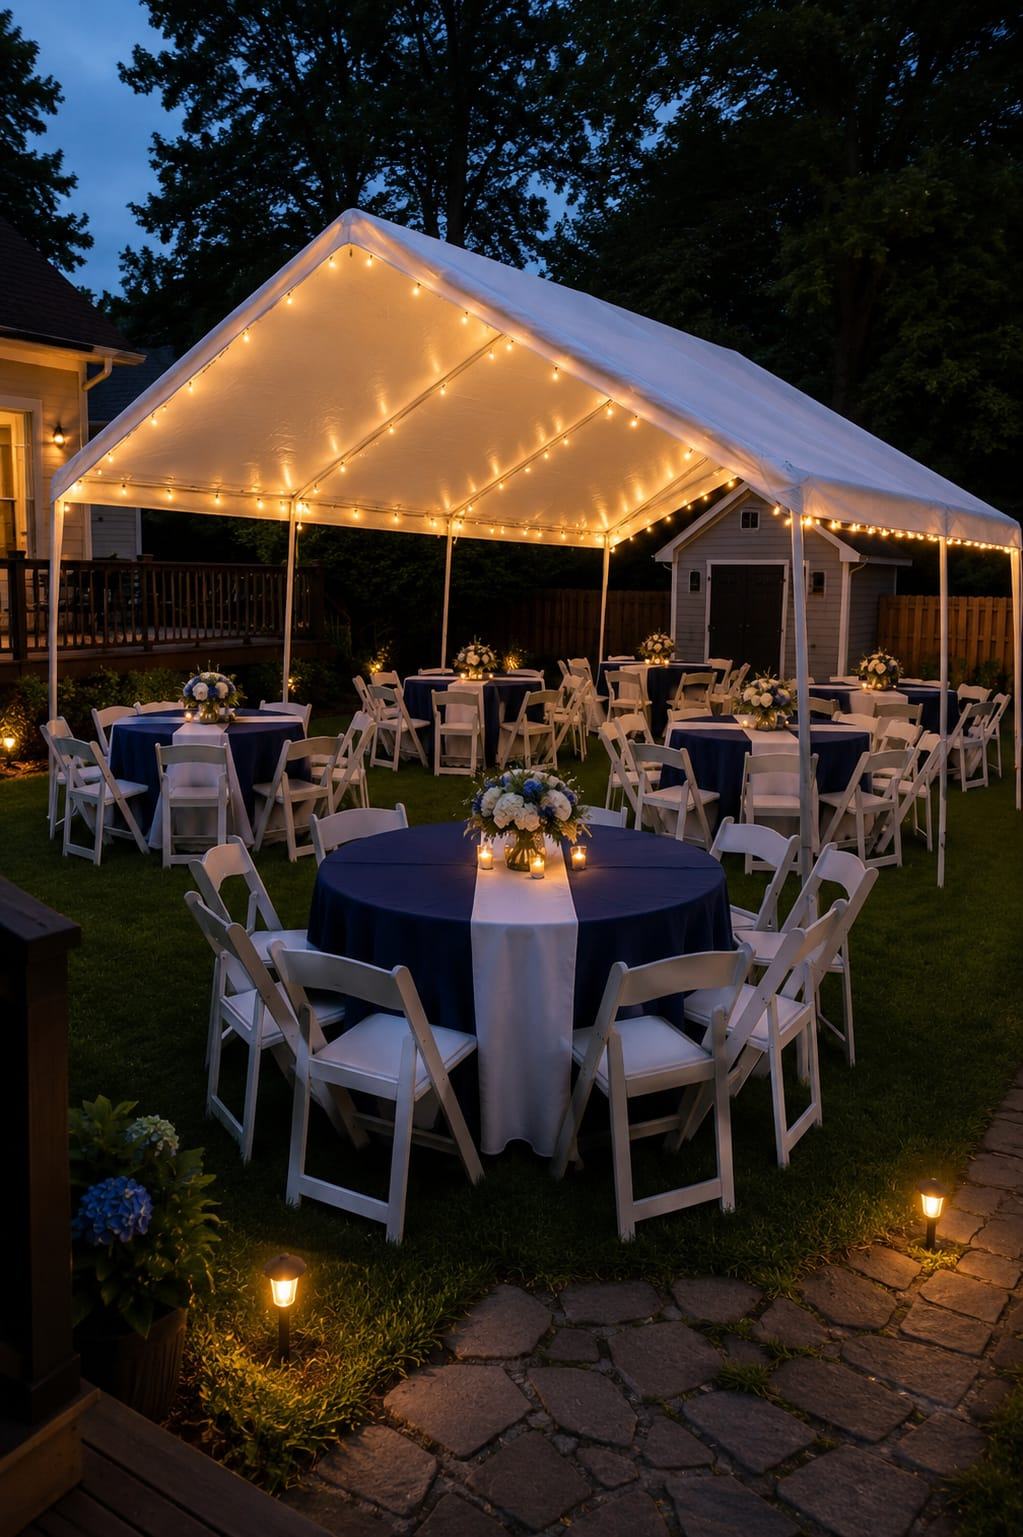
Even with a slope, you can create a polished look by using design elements that draw the eye upward and distract from any unevenness. Hang lightweight fabric drapes from the tent’s interior walls to soften the ceiling and add a sense of height. Use vertical elements such as tall centerpieces, lanterns, or slender columns to break up the visual plane and make the space feel more intentional.
For flooring, interlocking wooden deck tiles or portable dance floor panels can be laid over the leveled base, providing a stable surface for guests to walk and dance. Choose a finish that complements your décor theme—light‑stained wood for a rustic feel or white‑washed panels for a modern look. When placing tables and chairs, align them with the contour of the slope so that legs sit firmly on the adjusted base, preventing wobbling and ensuring comfort throughout the event.
Rain and Weather Contingencies: Sidewalls, Drainage, and Backup Plans
If rain is forecast, sidewalls become a valuable addition, especially on a sloped site where water runoff can be directed away from the tent interior. Install sidewalls on the windward and downhill sides to create a barrier that channels water toward natural drainage paths or toward a shallow trench you have prepared along the perimeter. Ensure that the sidewall edges are sealed with compatible straps or clips to prevent leaks at the seams.
Before the event, inspect the yard for any low‑lying spots where water might collect and consider creating a simple diversion using gravel or a French drain if the slope channels water toward the tent entrance. Keep a wet‑vac or absorbent towels on hand for minor moisture, and have a plan to shift activities to a covered area such as a garage or porch if conditions become unsafe. In Jefferson’s climate, late‑spring and early‑summer showers can be brief but intense, so preparing for quick drainage helps maintain comfort.
Logistics and Timeline: Delivery, Setup, and Teardown from Our Pendergrass Warehouse
Our team operates from a warehouse in Pendergrass, Georgia, which is roughly a ten‑minute drive to Jefferson under normal traffic conditions. This proximity allows us to schedule deliveries with flexibility, arriving early in the morning to begin site preparation before the heat of the day builds. We confirm the exact address, including street, city, state, and ZIP, to ensure the delivery vehicle follows the most efficient route and avoids any low‑clearance roads.
Setup typically begins with a brief site walk‑through to verify the marked layout, followed by unloading the tent components, assembling the frame, and adjusting leg lengths to match the slope. After the roof is secured, we add sidewalls, flooring, and décor elements as agreed. Teardown follows the same careful process in reverse, with all items inspected, cleaned, and loaded back onto the truck for the return trip to Pendergrass. Throughout the process we maintain clear communication with the host to confirm timing and address any last‑minute adjustments.
Frequently asked questions
What is the first step when preparing a sloped yard for a tent?
Begin by assessing the slope’s angle and direction using a level tool or smartphone app, then clear the area of debris and vegetation to create a clean work surface for further preparations.
How do you ensure the tent stays level on uneven ground?
Lay a compacted base of sand or crushed stone, then check the surface in multiple directions with a long level or laser level, adjusting fill material as needed to achieve a uniform plane.
What type of anchoring works best for a tent on a slope?
Use heavy‑duty steel stakes or augers driven deep into stable sub‑soil, placing uphill stakes at a slight downward angle and downhill stakes more vertically to counteract wind forces.
Can I add flooring or a dance floor on a sloped surface?
Yes, after leveling the base, install interlocking deck tiles or portable dance floor panels to create a stable walking and dancing surface that accommodates the site’s contour.
How does rain affect a tent on a slope and what precautions should I take?
Rain can cause runoff to pool under the tent; install sidewalls on the windward and downhill sides, create drainage paths or gravel trenches, and keep absorbent materials ready for minor moisture.
What is the typical timeline for delivery, setup, and teardown from the Pendergrass warehouse to Jefferson?
Delivery usually arrives in the morning, setup takes a few hours depending on size and slope adjustments, and teardown is completed after the event, with the crew returning to Pendergrass promptly.