
Tent Ventilation Tips: Why Fresh Air Matters for Your Jefferson Event
When hosting a gathering in Jefferson, Jackson County, the comfort of your guests depends heavily on the air moving inside the tent. Warm summer days can make a sealed canopy feel stuffy, especially when you have a crowd of 30 to 50 people dancing, eating, or simply mingling. Proper ventilation helps regulate temperature, reduces humidity, and keeps odors from food or drinks from lingering. By planning airflow early, you create a more enjoyable environment that lets guests stay longer and enjoy the celebration without feeling overheated or sticky.
In Jefferson, many backyards off Old Pendergrass Road and the neighborhoods around Jefferson High School feature open lawns that are ideal for tents, but they also sit in low‑lying areas where warm air can pool. Recognizing this local topography allows you to position intake and exhaust points strategically. For example, placing the tent’s open side toward the prevailing breeze from the southwest can draw fresh air in, while a high vent or sidewall opening on the opposite side lets warm air escape. This simple alignment uses the natural wind patterns of Jackson County to improve comfort without any mechanical assistance.
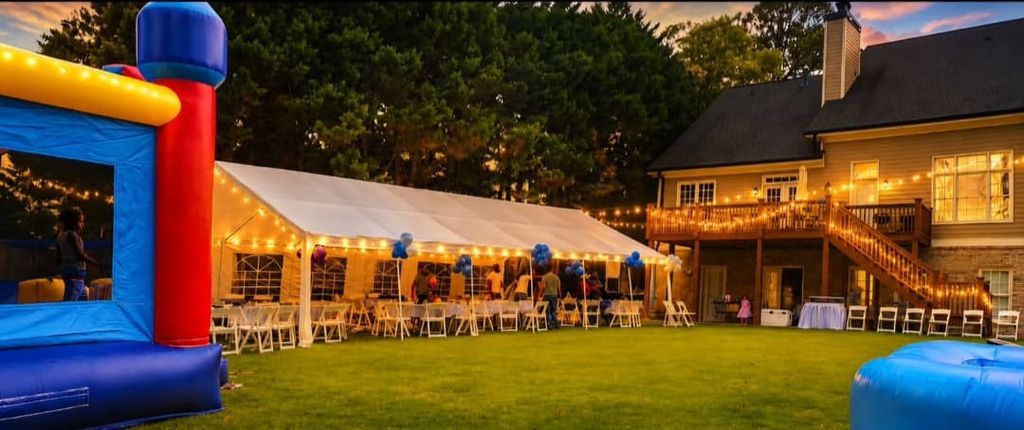
Tent Ventilation Tips: Simple Strategies to Boost Airflow
One of the most effective tent ventilation tips is to create a cross‑draft by opening opposite sides of the canopy. If you are using a 20×20 frame tent, which comfortably seats 32‑40 guests, leave at least a 2‑foot gap on the windward side and a matching gap on the leeward side. This setup encourages air to flow straight through the space, carrying heat and moisture out. For larger gatherings, such as a 20×40 tent that holds up to 80 seated guests, you can add a second opening near the center of each long side to maintain balanced pressure and prevent stagnant pockets.
Another practical tip is to elevate the tent slightly off the ground using adjustable stakes or weighted bags. In Jefferson’s clay‑rich soil, a small lift of 2‑4 inches prevents the tent’s skirt from sealing tightly against the earth, which can trap warm air underneath. This gap also allows cooler ground air to seep upward, especially during evening events when temperatures drop. Combining elevation with side openings creates a natural convection loop that keeps the interior fresh throughout the celebration.
Tent Ventilation Tips: Guest‑Count Math and Airflow Needs
Understanding how many guests you expect helps you size ventilation appropriately. For a 10×20 tent, which accommodates 16‑20 seated guests or up to 25 cocktail‑style attendees, aim for at least two square feet of opening per person to maintain comfortable air exchange. If you plan a baby shower with 20 guests, that translates to roughly 40 square feet of total vent area—achievable by opening two 2‑foot‑wide panels on opposite sides. For a larger quinceañera with 80 guests in a 20×40 tent, you would target about 160 square feet of opening, which can be distributed across four side panels and a roof vent.
When calculating airflow, also consider activity levels. A dance floor increases metabolic heat, so you may want to add an extra 10‑15 % of vent area for events with heavy movement. In Jefferson, many families host graduation parties where guests move between a buffet table and a lawn game area; planning for this extra airflow prevents the space near the food from becoming overly warm. By aligning your vent sizing with both guest count and expected activity, you ensure the tent stays comfortable from start to finish.
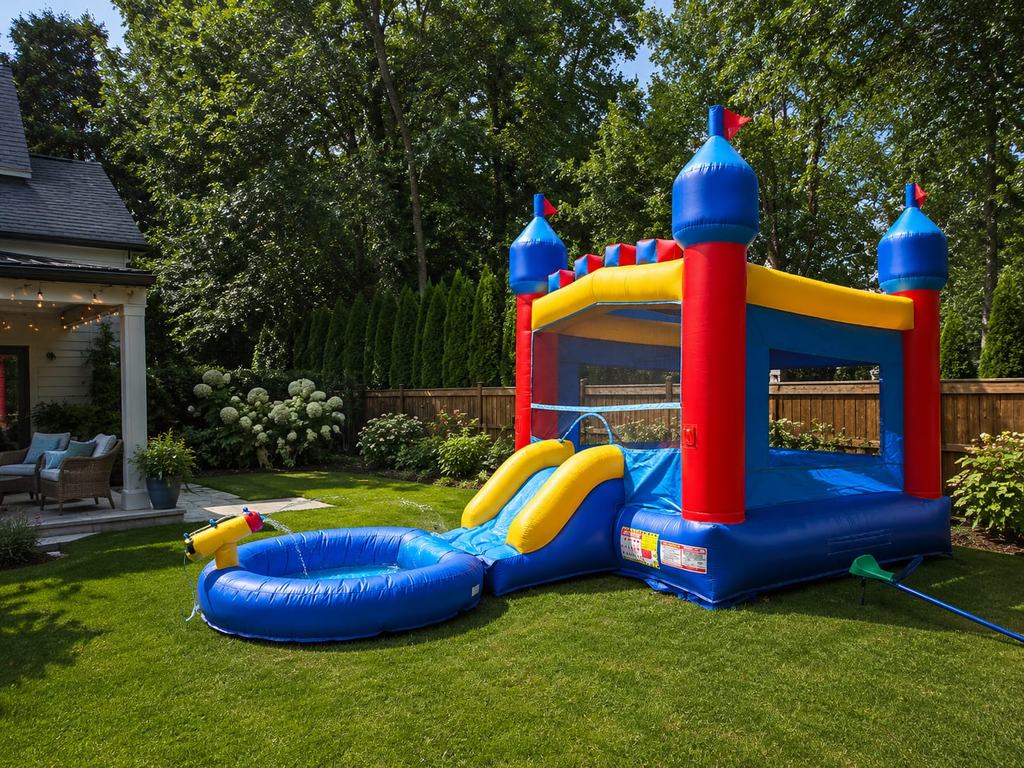
Tent Ventilation Tips: Yard Preparation and Setup Timeline
Proper yard preparation lays the groundwork for effective ventilation. Before the tent arrives, walk the site and remove any debris, loose branches, or toys that could block airflow paths. In the Traditions of Braselton area, many yards have mature oak trees whose roots can create uneven surfaces; leveling the ground with a rake or adding a thin layer of sand helps the tent sit flat, preventing the fabric from pulling tight and sealing off side gaps. Mark the locations for stakes and weights at least 24 hours before delivery so the crew can anchor the tent securely without delaying the ventilation check.
On the day of the event, aim to have the tent fully erected at least two hours before guests arrive. This early setup gives you time to adjust sidewalls, open vents, and test the airflow with a simple handheld anemometer or even a lightweight ribbon tied to a corner—watch for steady movement indicating proper exchange. Thirty minutes before the start, walk the interior and feel for any hot spots; if you notice stagnant air near the food table, slightly widen the nearest opening or reposition a sidewall panel. This timeline ensures that ventilation is optimized well before the first guest steps inside.
Tent Ventilation Tips: Rain Plan and Weather Adaptations
Even with the best ventilation plan, occasional rain showers can roll through Jackson County, especially in the spring. When you anticipate precipitation, sidewalls become a valuable tool: they can be zipped closed to keep the interior dry while still allowing airflow through strategically placed mesh panels or vent flaps. Many of our tent packages include sidewall options with built‑in zippered vents that let you maintain air exchange without sacrificing protection from moisture.
If heavy wind is forecast, avoid fully opening large panels that could act like sails and destabilize the frame. Instead, use smaller, adjustable vents near the roof peak to let warm air escape while keeping the sides more secure. In Jefferson’s occasional gusty afternoons, combining a low‑profile sidewall with a roof vent creates a balanced system that resists wind pressure while still exchanging air. Always consult the forecast the morning of the event and have a quick‑adjustment plan ready so you can respond to changing conditions without compromising guest comfort.
Tent Ventilation Tips: Drive Logistics and Local Support
Our Pendergrass warehouse is just a ten‑minute drive from Jefferson, making last‑minute adjustments or spare parts easy to access. The most common route follows GA‑53 north to Old Pendergrass Road, then turns left toward the Traditions of Braselton subdivision—a well‑marked path that avoids heavy traffic on I‑985. Knowing this short distance lets you schedule a quick site visit the day before the event to verify stake placement, measure opening sizes, and confirm that the tent’s orientation aligns with the prevailing breeze.
When you need extra equipment such as portable fans or additional sidewall vents, our team can deliver them directly to your Jefferson address within the same service window. Because we operate exclusively outdoors and at‑home events inside the 40‑mile radius, we never rely on indoor halls, which simplifies logistics and keeps the focus on maximizing natural ventilation. Providing clear directions and confirming the exact address (street, city, state, ZIP) ensures that the crew arrives ready to set up the tent with ventilation in mind, leaving you free to enjoy the celebration.
Tent Ventilation Tips: Load‑In Timeline
Begin with a site walk at least two hours before the scheduled delivery to confirm ground conditions and mark stake locations. Next, have the crew position the tent frame and secure it with stakes or weights, ensuring the fabric is not overly tight against the ground to preserve side gaps for airflow. Once the frame is stable, attach the canopy and adjust sidewalls or vents according to the planned ventilation strategy. After the tent is fully erected, conduct a quick airflow test using a ribbon or handheld meter to verify that openings are balanced and air is moving as expected. Finally, walk the interior with the client to address any last‑minute adjustments and confirm that entrances and exits remain clear for guest flow.
Tent Ventilation Tips: Event Day Checklist
Use this checklist to keep ventilation and overall setup on track from start to finish.
- Confirm the exact event address (street, city, state, ZIP) matches the service‑area list.
- Verify the guest count and select the appropriate tent size based on seating or cocktail style.
- Ensure the chosen tent includes sidewall or vent options for rain and wind protection.
- Check that a grounded exterior outlet or generator is available for any blowers or fans.
- Review the weather forecast and prepare quick‑adjustment plans for rain or high wind.
- Mark stake and weight locations at least 24 hours before delivery.
- Plan for tent elevation of 2‑4 inches if the soil is clay‑rich or prone to sealing.
- Arrange for portable fans or additional vents if the event will have heavy activity or a dance floor.
- Schedule the tent to be fully erected at least two hours before guest arrival.
- Perform an airflow test with a ribbon or meter once the tent is up.
- Walk the interior to identify and eliminate any hot spots or stagnant zones.
- Keep emergency contact information and the crew’s phone number readily accessible.